Diy Sensory Table Wood
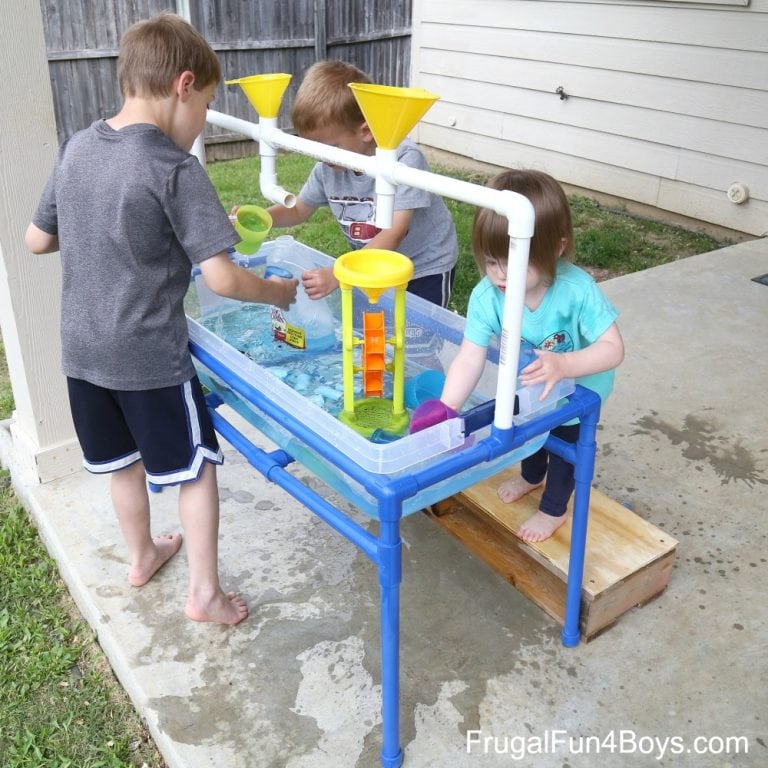
Clearly i am not spending $40+ on a plastic table, much less $100+ for a wooden one. This dual sided sensory table could be used for so much more than sand and water!
DIY Sensory Table that looks like a Manger I Can Teach My Child!

We used the supporting wood from brick pallets (along with some scaffold boards for the worktop) to build an outdoor kitchen cupboard for our rainbow basin.

Diy sensory table wood. This type of wooden diy sensory table is very creative because the process of designing it also improves the mental and sensory system proper functioning and development. I found this lovely tutorial via pinterest. This is all about functionality.
Flip the entire table upside down, so it’s resting on the 1×8 boards, legs sticking up. Use the carpentry skills and tools to design this wooden diy sensory table. Don’t use any adhesive, so you’ll be able to take it apart when.
I don’t have any wood saws or a ton of tools but i figured there had to be a simple diy. Countersinking bit (helps prevent wood from splitting from deck screws) storage bins with lids (2 needed, approx. If you haven’t already spotted my diy alfresco kitchen project have a.
Make 1 cut 18 1/4in by 4ft make 5 cuts for the 5 pieces from one side to the other, measure each individual piece based on your 5 openings. And don’t forget to include an appropriate amount of space for the sensory table! Attach the short side boards to the tops of the legs using pocket screws.
Ad browse & discover thousands of brands. Awesome diy sensory table ikea hack. Assemble it with wood glue and small nails.
Attach the long side boards using pocket holes, forming a rectangle on legs. You can cut the pieces and add a magnet board to it. I pretty much followed it to a t, but here is a recap with some clarifications.
We also added a bit of wood glue on each side for extra support. A wooden sensory table is cheap to make and doesn’t take too much time. Reversible sand + water table.
You want this part above the tabletop so that you can get the lids on off easily! This means there’s three or four pieces of 3 x 2 inch wood in each pallet that makes excellent framing material. The easy and simple design can also be used as a sand and water table!
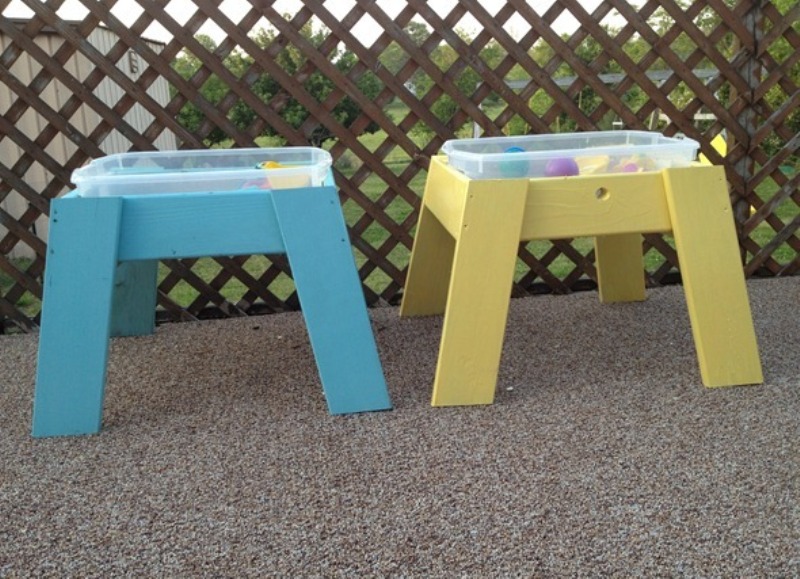
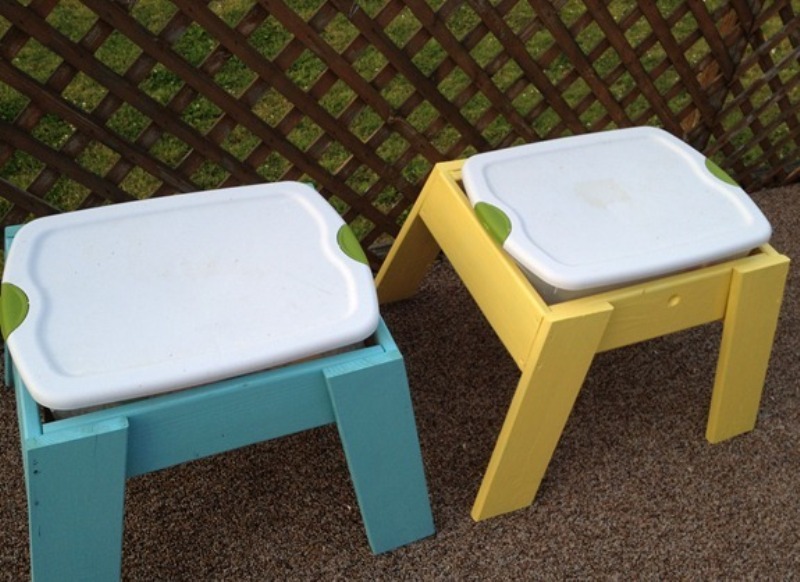
The height of the table is 23 inches. This is practical knowledge about nature and food they will love to smell, touch, and taste! I’ve been wanting to get gio a sensory table for soooo long!
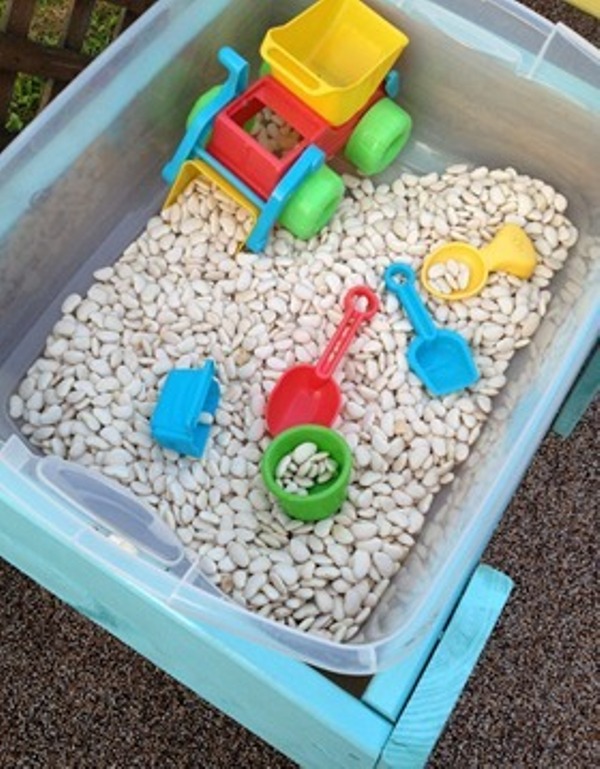
You will also love these 23 diy kids table ideas and a simple modern kids table with angled legs. This sensory bin is cleverly disguised as a picnic table. This massive wooden box on wheels contained a large, deep tray filled with different themed things — it may be sand and small beach toys and sea shells one week, rice with bright plastic dinosaurs and easter eggs the next, and rainbow.
This two tubbed wonder of a sensory table has plans to include a lid with a chalk board surface. To make this type of wooden diy sensory table, you only need glue and wood. Next add your longer pieces out of 3.5 wood and attach them to the outside, offset by about 2.25 inches to hold your bin in place.
There is a small lip around the top so that the rice and beans will stay on to table, unless they are flung with force from the box straight to the floor. 8′ 2×4 boards (5 pieces) kreg pocket hole jig. Diy sensory table, wooden activity table for kids, montessori, toddler, chair price:
Then add the end pieces by measuring the sides after they are attached. Since this is my first wood working project, i don’t feel comfortable answering questions about how to. Other diy sensory table options include plastic tubs, plastic crates, and wooden boxes.
3′ bar clamp (can do without clamp, but really helped to secure structure for pocket hole joining. This one is perfect for an educators favoring. Grate for storage and arts and crafts!
Cut all of your pieces. Diy sensory tables can be incredibly cheap and easy if you just make one out of a cardboard box or empty containers. The sensory table is meant to stay in the backyard so i didn't care much about finish and esthetics.
We chose not to glue ours and it has worked fine, but if. This idea was inspired by mint, but you can get creative and add a variety of fresh herbs to your bin for your students to sort, cut, and separate in their own way. Check out our sensory table outdoor selection for the very best in unique or custom, handmade pieces from our learning & school shops.
First and foremost you will need to measure around your bins just under the lip where the lid attaches. Find deals and compare prices on sensory table wood at amazon.com I wanted a nice, sturdy wooden one like the one i had in my classroom as a preschool teacher… but those run upwards of $200 & i just couldn’t bring myself to spend that knowing i could probably diy it for much less… ummm, try $30!!
Diy means do it yourself, so diy sensory tables are simply doing you own thing instead of buying something ready made. A wooden sensory table is more sturdy and doesn’t require much carpentry. Obviously, these things are not baby toys, so they need to be attached really securely, it goes without saying that they are never to be left alone with their.
It was super easy to put together and i used wood that was left after i built a montessori floor house bed. How to make a diy sensory bin table. Set your kreg jig to 3/4″ wood thickness and drill two pocket holes on the ends of these boards, both 1×4 and 1×6.
It was built around these $4 clear 28 qt/27 l container boxes and wooden 2x4s, 2x3s, and 1x3s boards. Sand + sensory picnic table. Start by building your lower (inner) frame out of 2.5 by 3/4 wood.
The garden shop sign is the cherry on top! Read customer reviews & find best sellers. I used diy water table plans from anika’s diy life, making a few modifications.
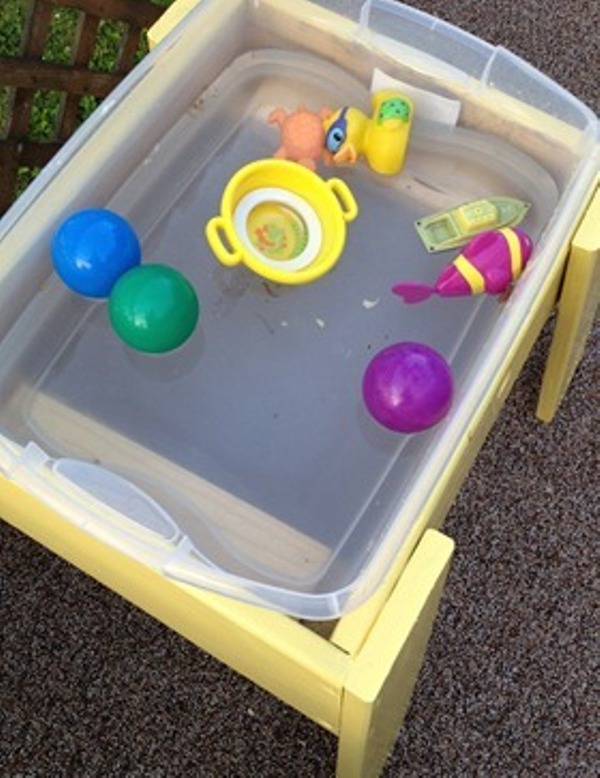
These diy water table plans show you how to make a simple and sturdy sensory table for your toddler. There will be about a 1/4″ gap between 1×4 and 1×6 boards. Afterwards, you can fill the table with marbles or water beads.
First, i made the legs longer, added supports for the legs, and then added the top bar with hooks. Pause for a silly photo with your child. How to make your own sensory table.
Flip the bin frame upside down and attach the 1×4 and 1×6 boards using wood glue and 1 1/4″ pocket hole screws. (remind me to put a sheet or something under the table.) the top of the table is 25 inches by 27 inches, so it isn’t quite a perfect square.
How to build your own water & sand sensory table for play.
the mini traveling cupcake DIY Sensory Table

DIY Sensory Tables For Kids Kidsomania
DIY Sensory Tables For Kids Kidsomania
DIY Sensory Table Ikea Hack In The Playroom

DIY Sensory Tables For Kids Kidsomania
Our new IKEA FLISAT sensory table Little Lifelong Learners

DIY Water Table For Toddlers To Play Shelterness

DIY Sensory Table

Easy Sensory Bin Table Setup for Kids! OBSiGeN

Blue Sky Parent Build Your Own Sensory Table

How to build your own water & sand sensory table for play.

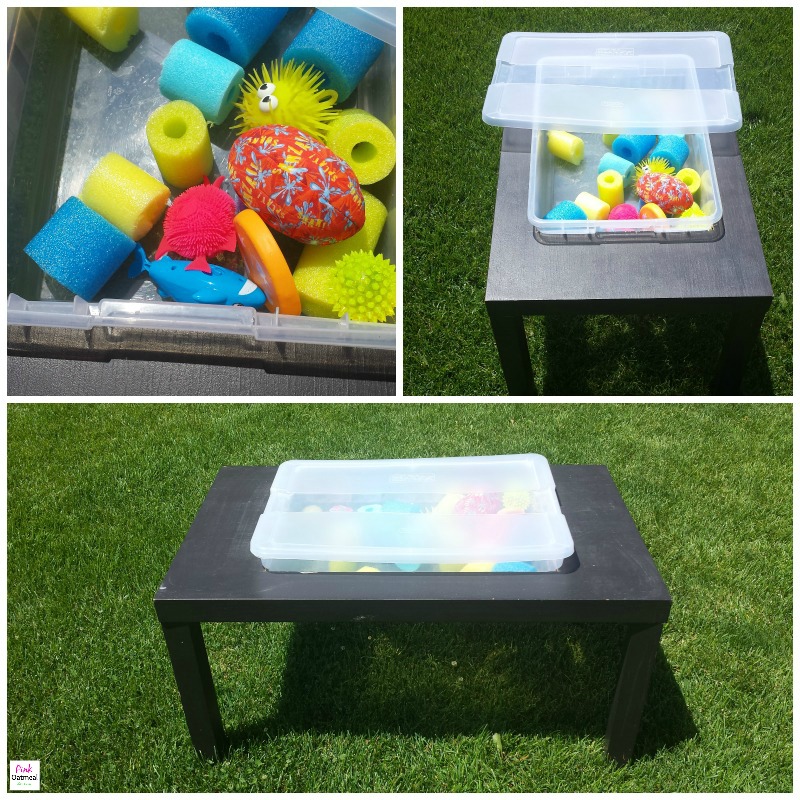
DIY Sensory Table From an IKEA Table Pink Oatmeal
Our Sweet Happy Home diy sensory table

DIY Sensory Table Ikea Hack In The Playroom

DIY Sensory Tables For Kids Kidsomania
DIY Sensory Table — Stay At Home Momming Sensory table, Kids activity

Tot School Tuesday DIY Sensory Table Mine for the Making

Raising a LowMedia Toddler The Sensory Table to the Rescue
