Diy Bike Trainer Resistance
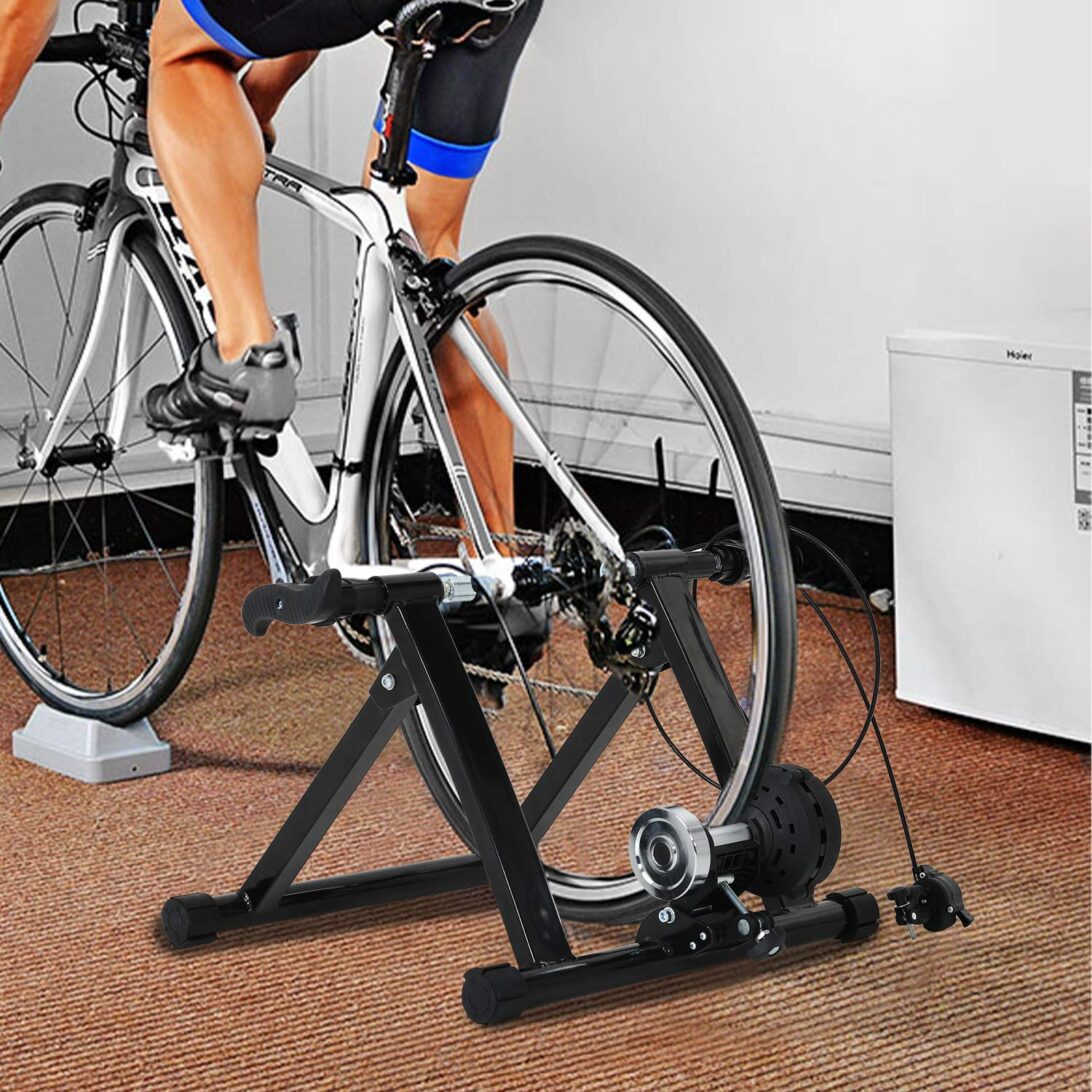
In order to match the resistance to your effort you will either need to dismount the bike and adjust the tension on the trainer itself, or you will need to mount a cable on the handlebar and attach it to the trainer in order to be able to adjust the resistance. For example, the neo has a brake force of 250n and can therefore simulate a slope realistically up to 25% at a weight of 75kg.
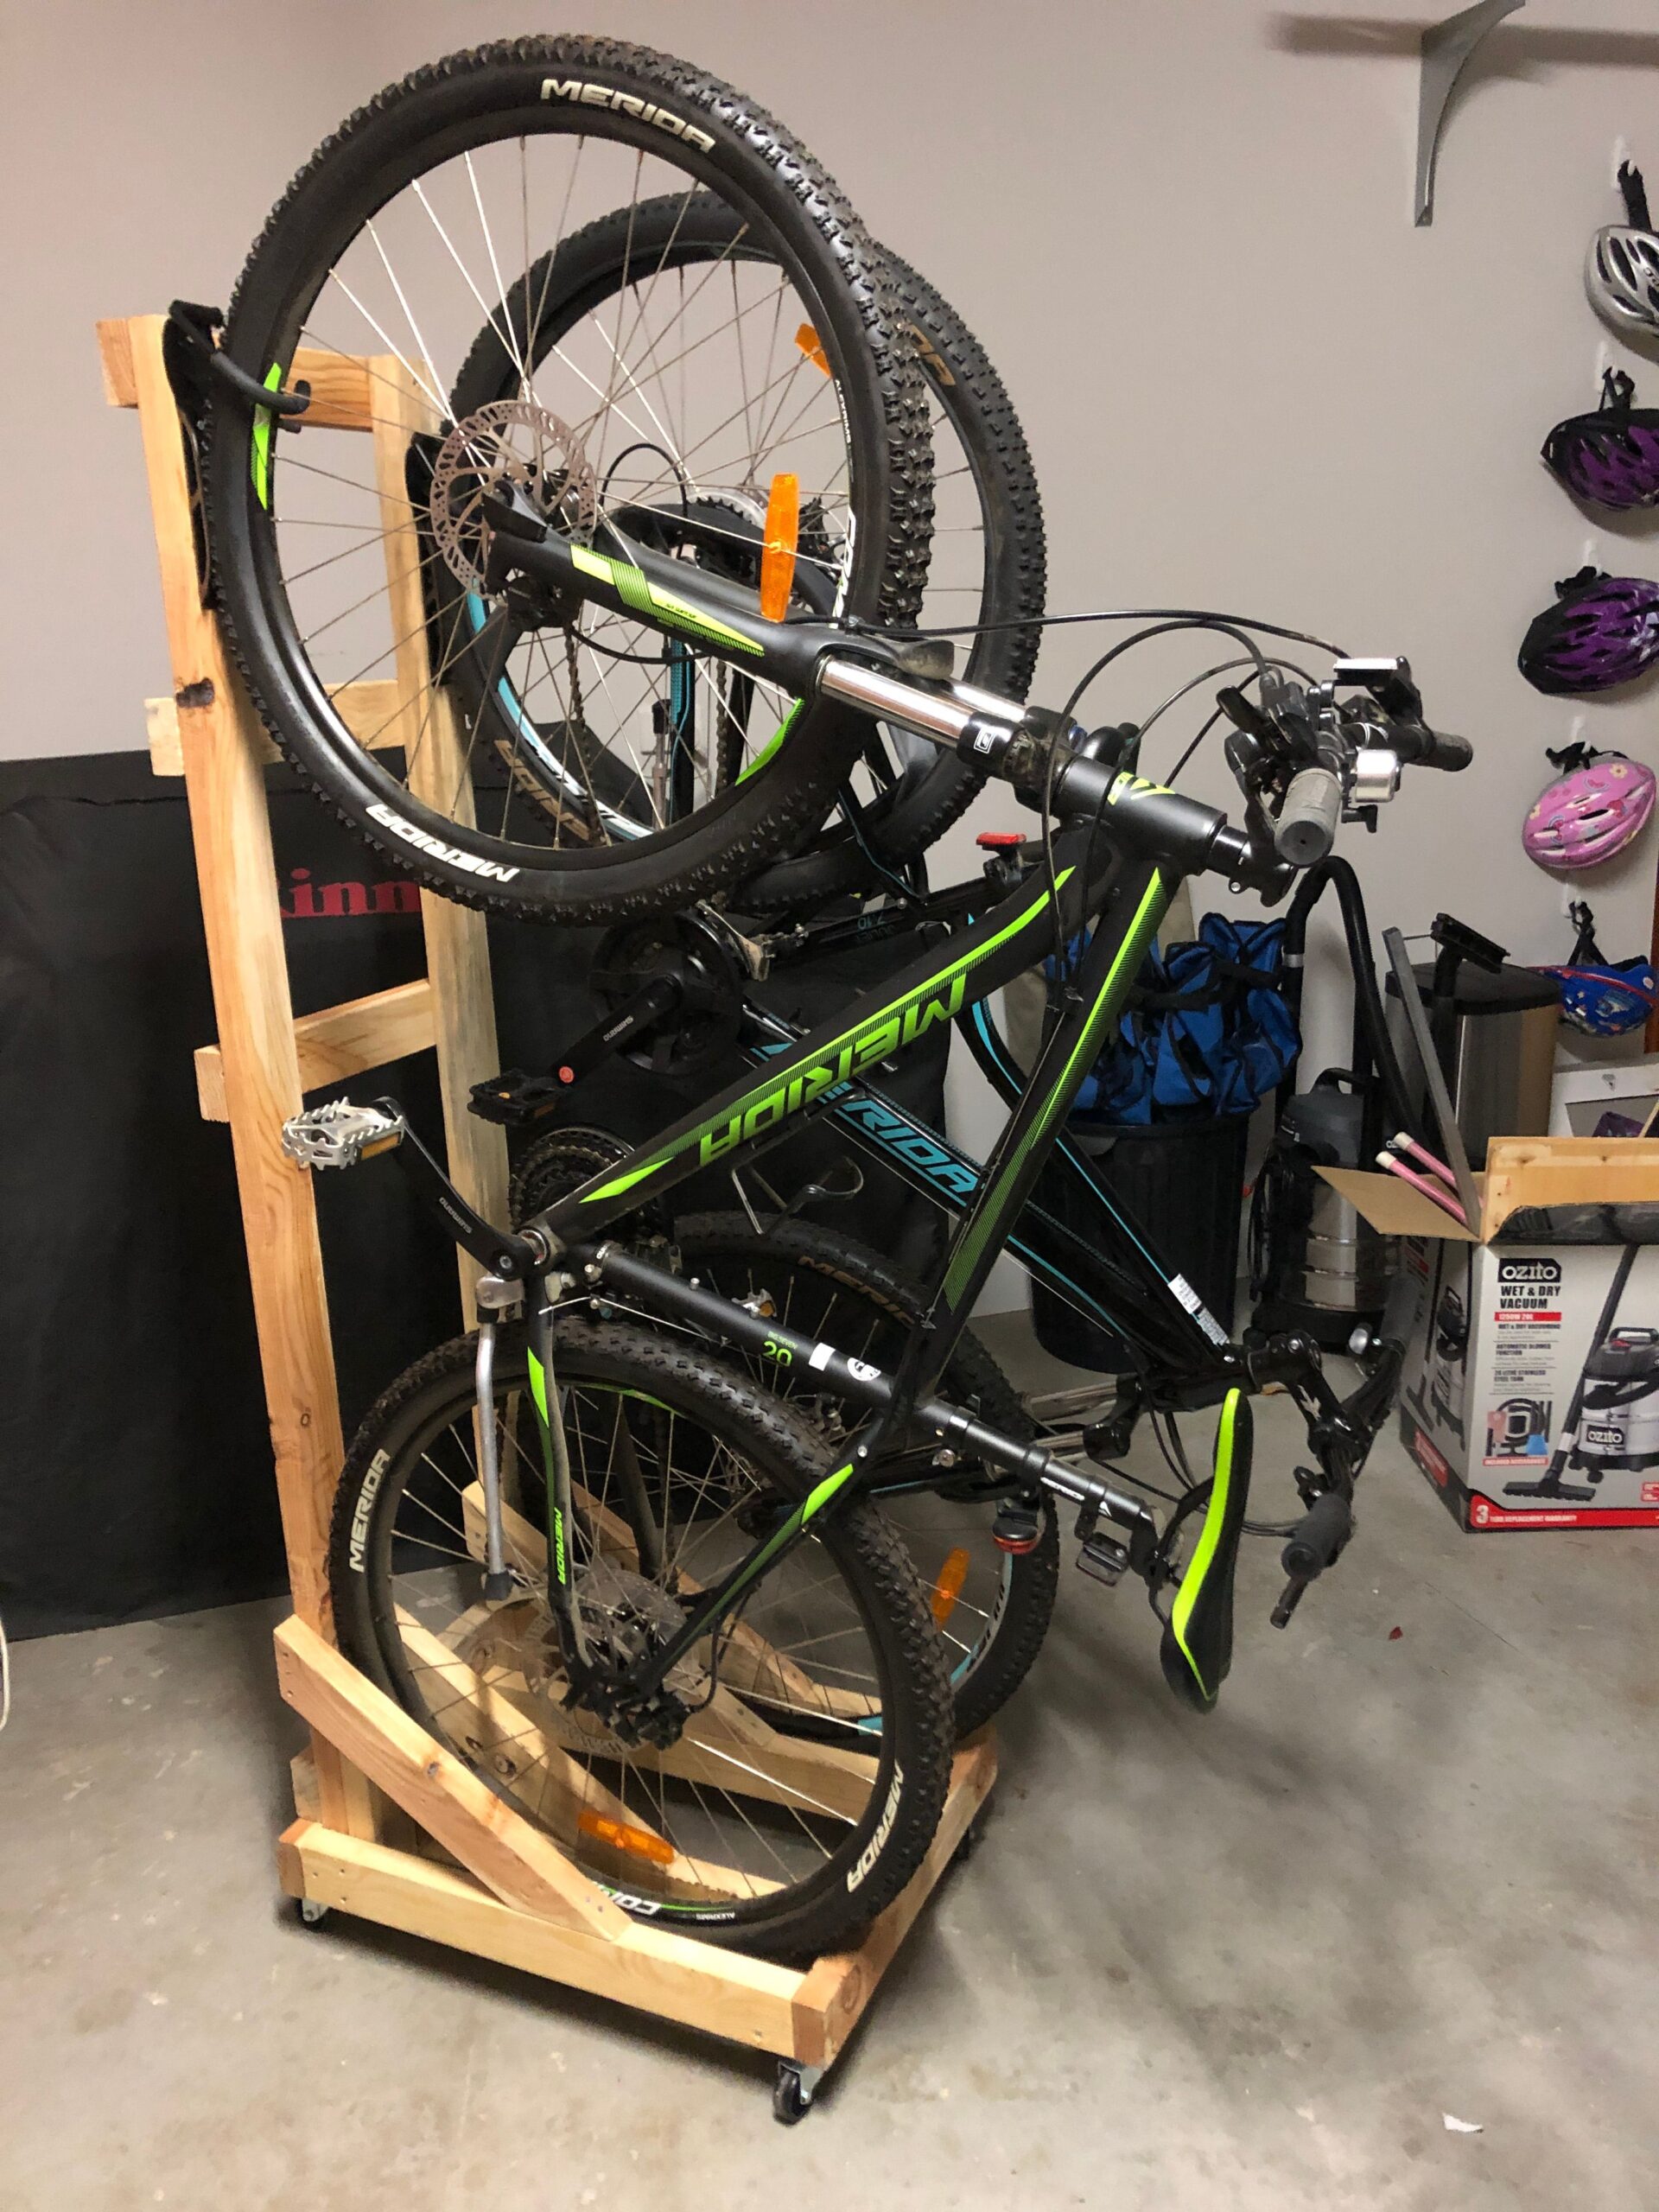
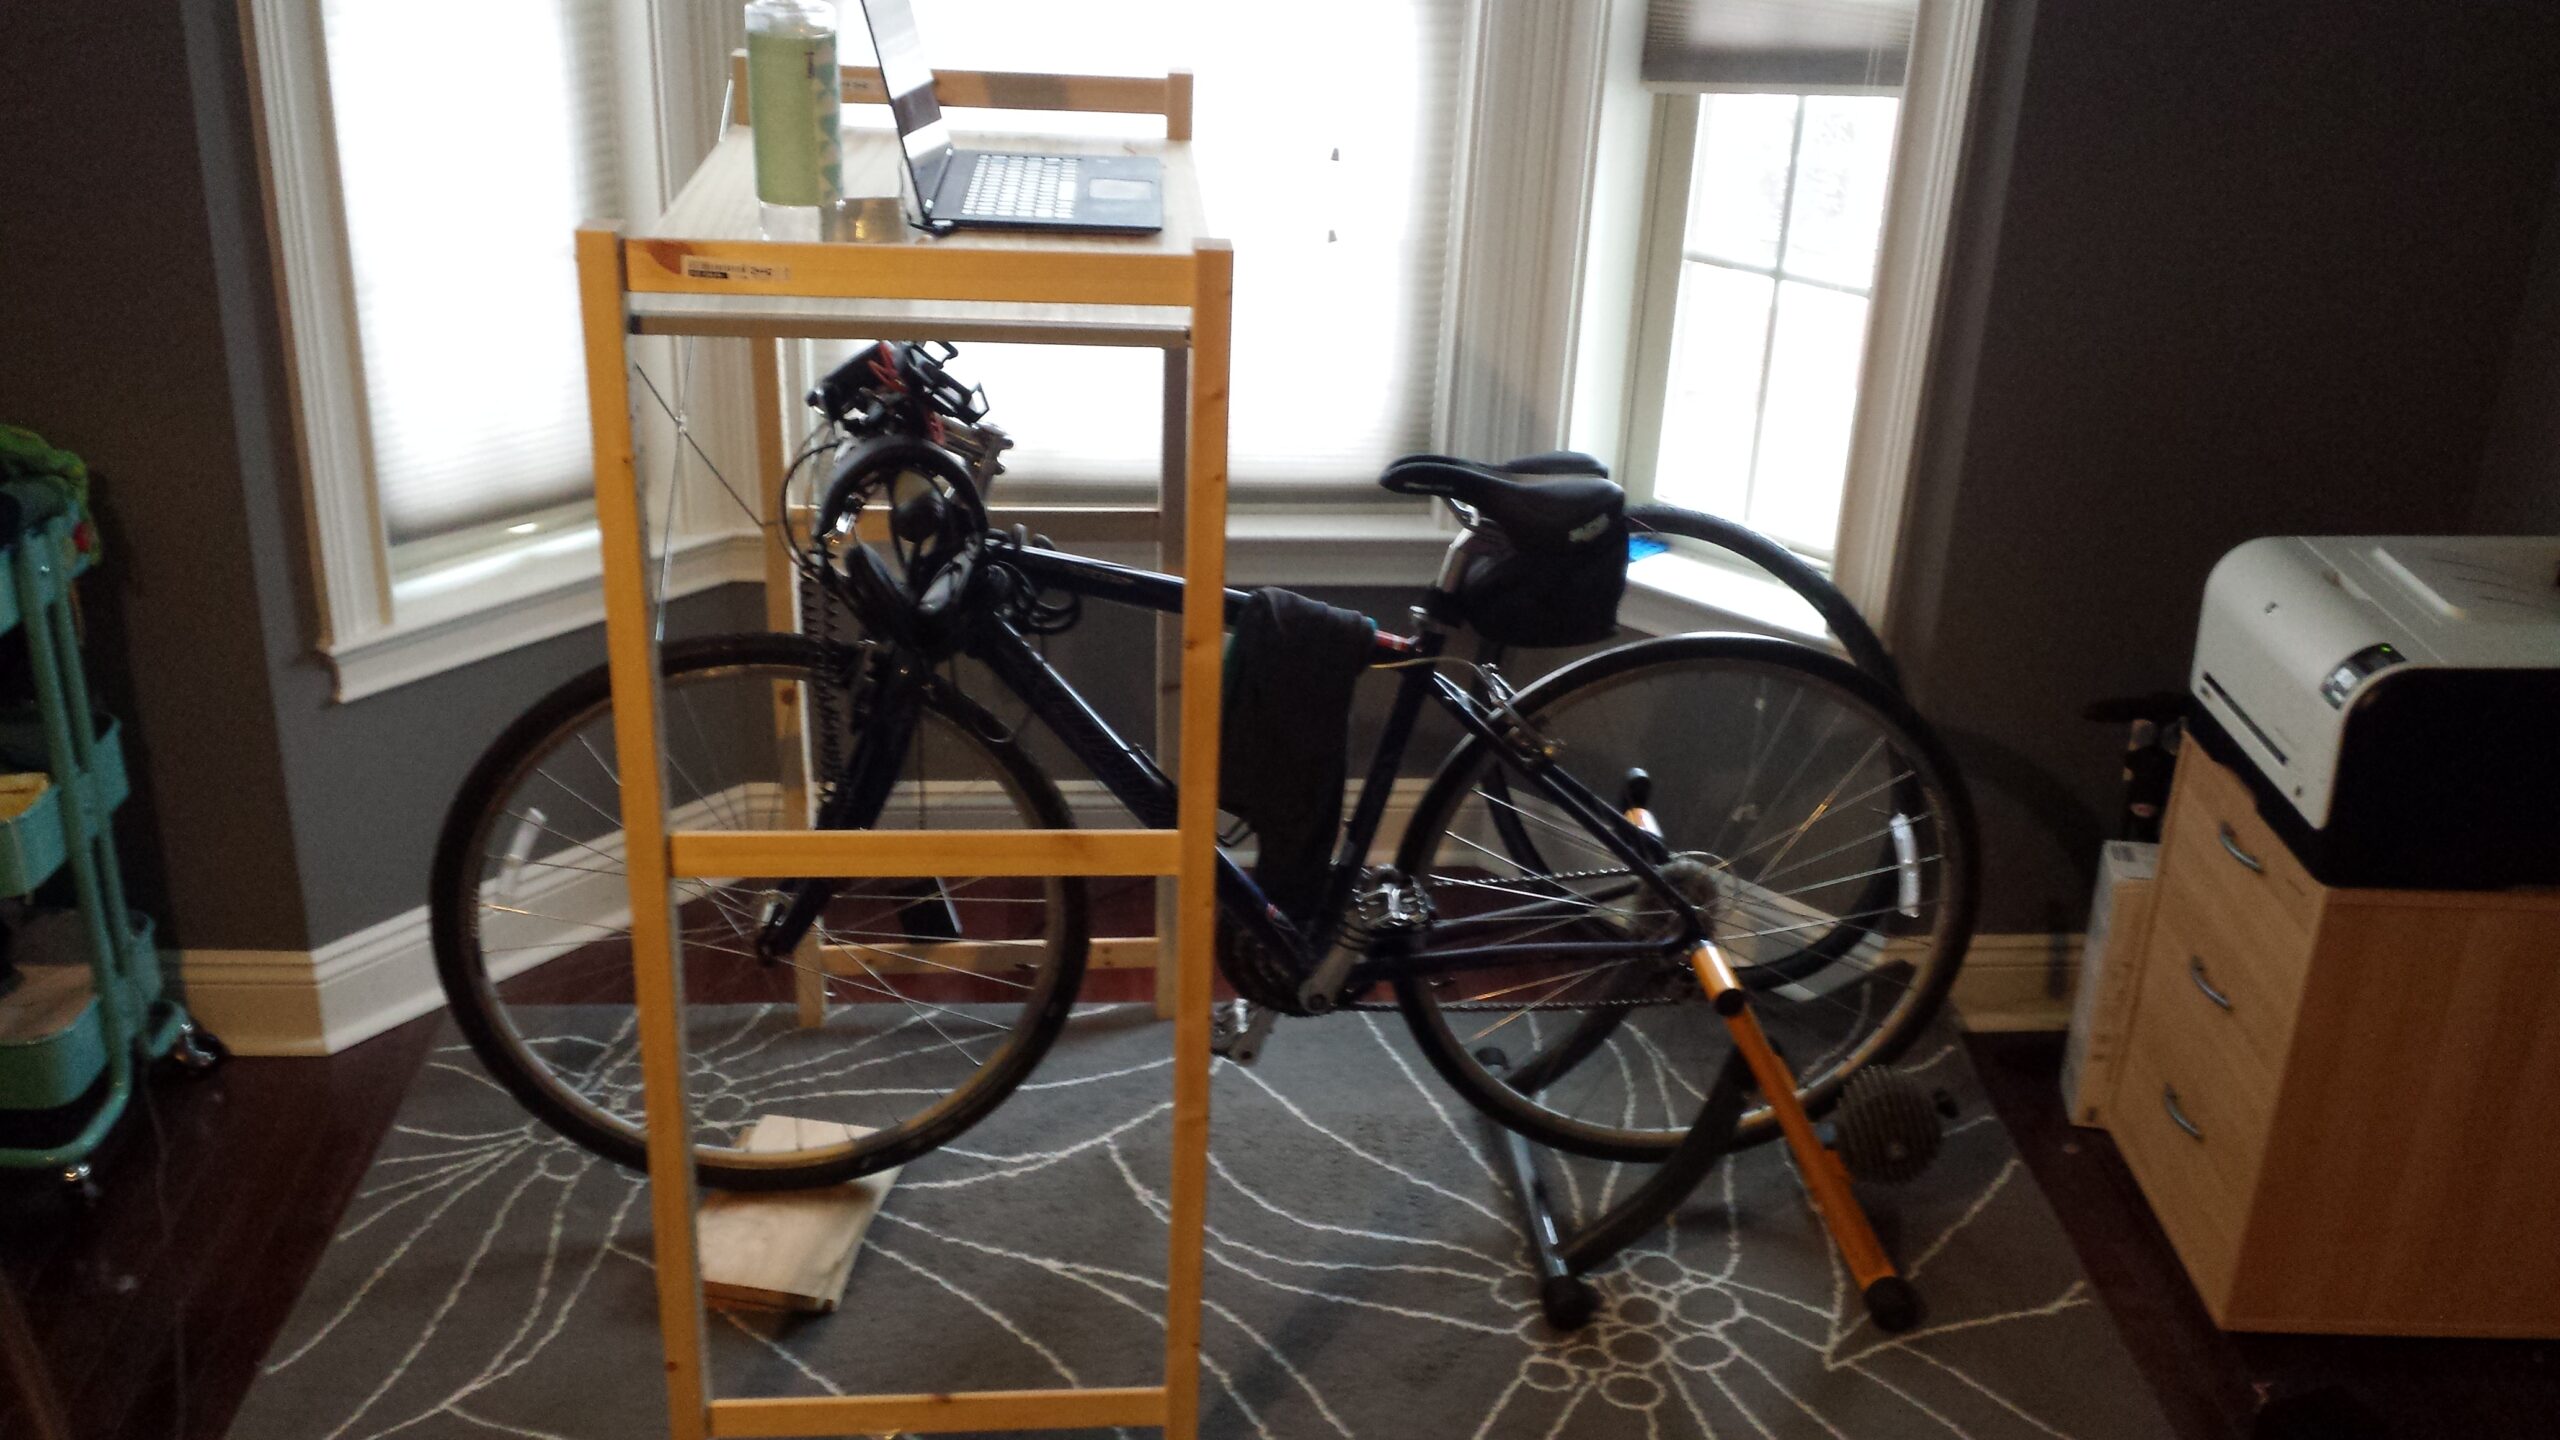
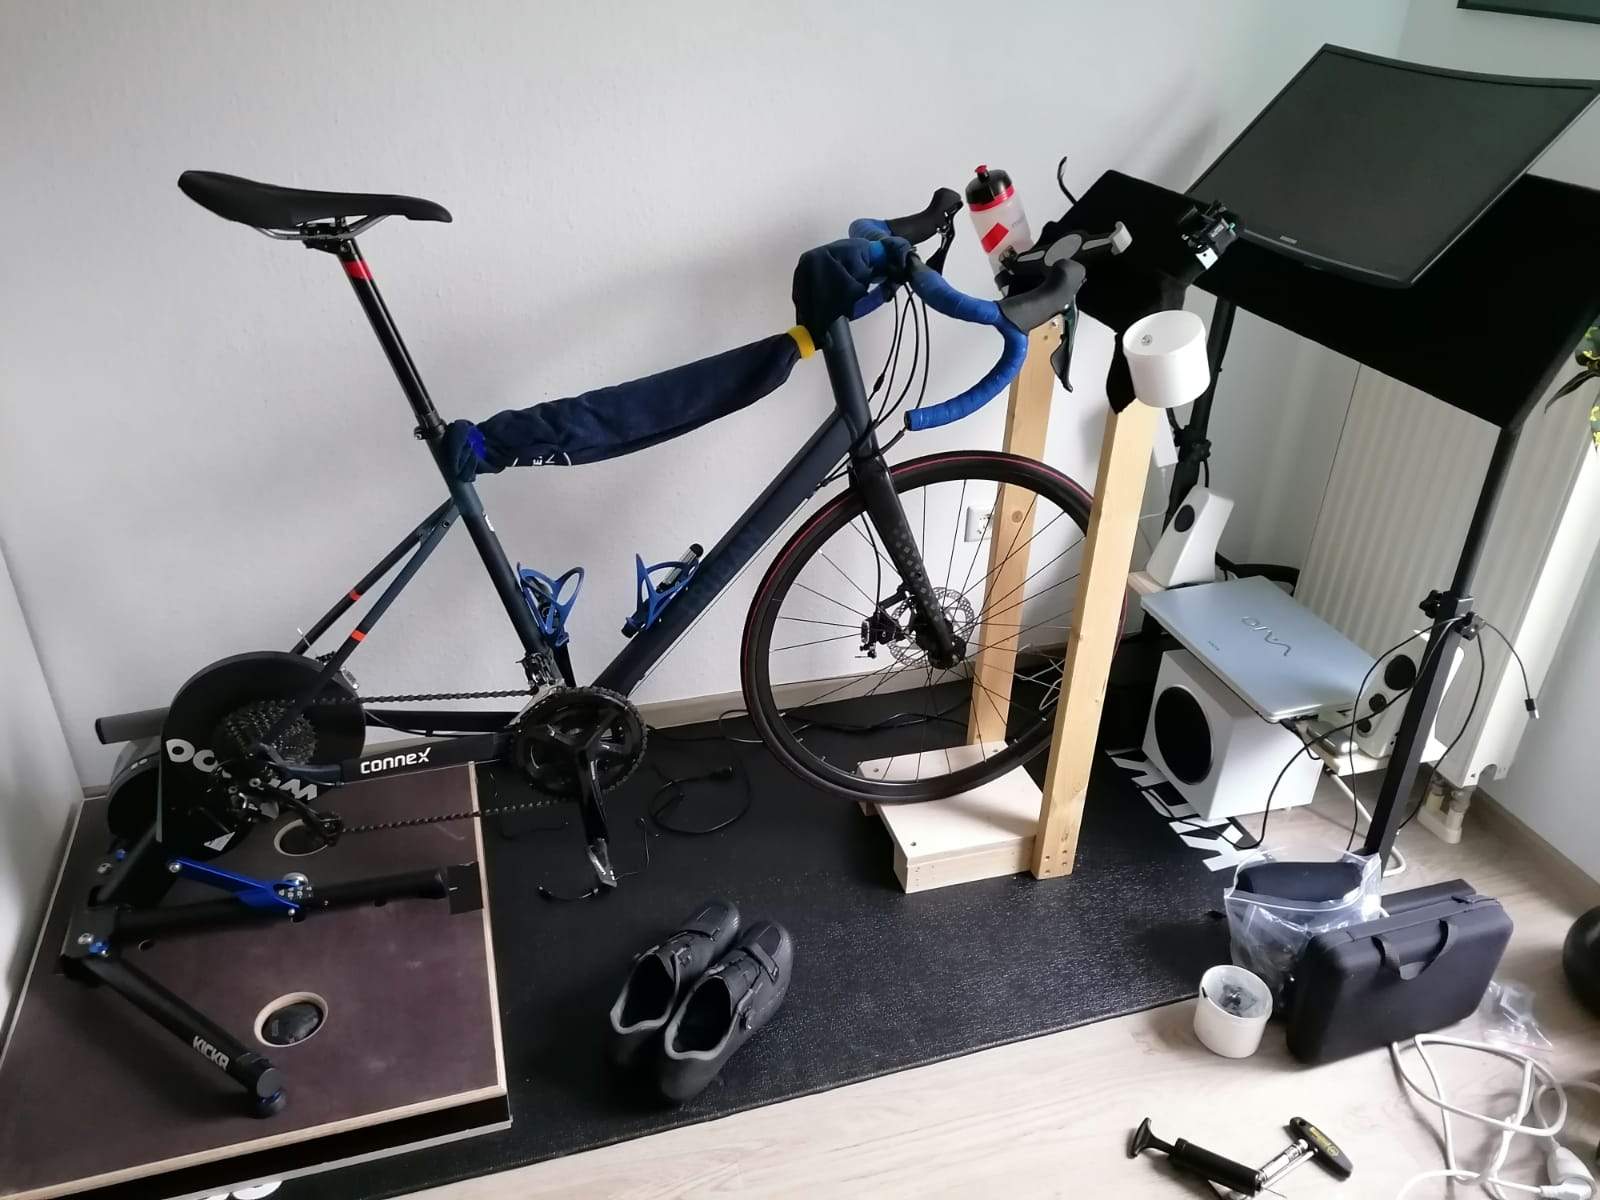
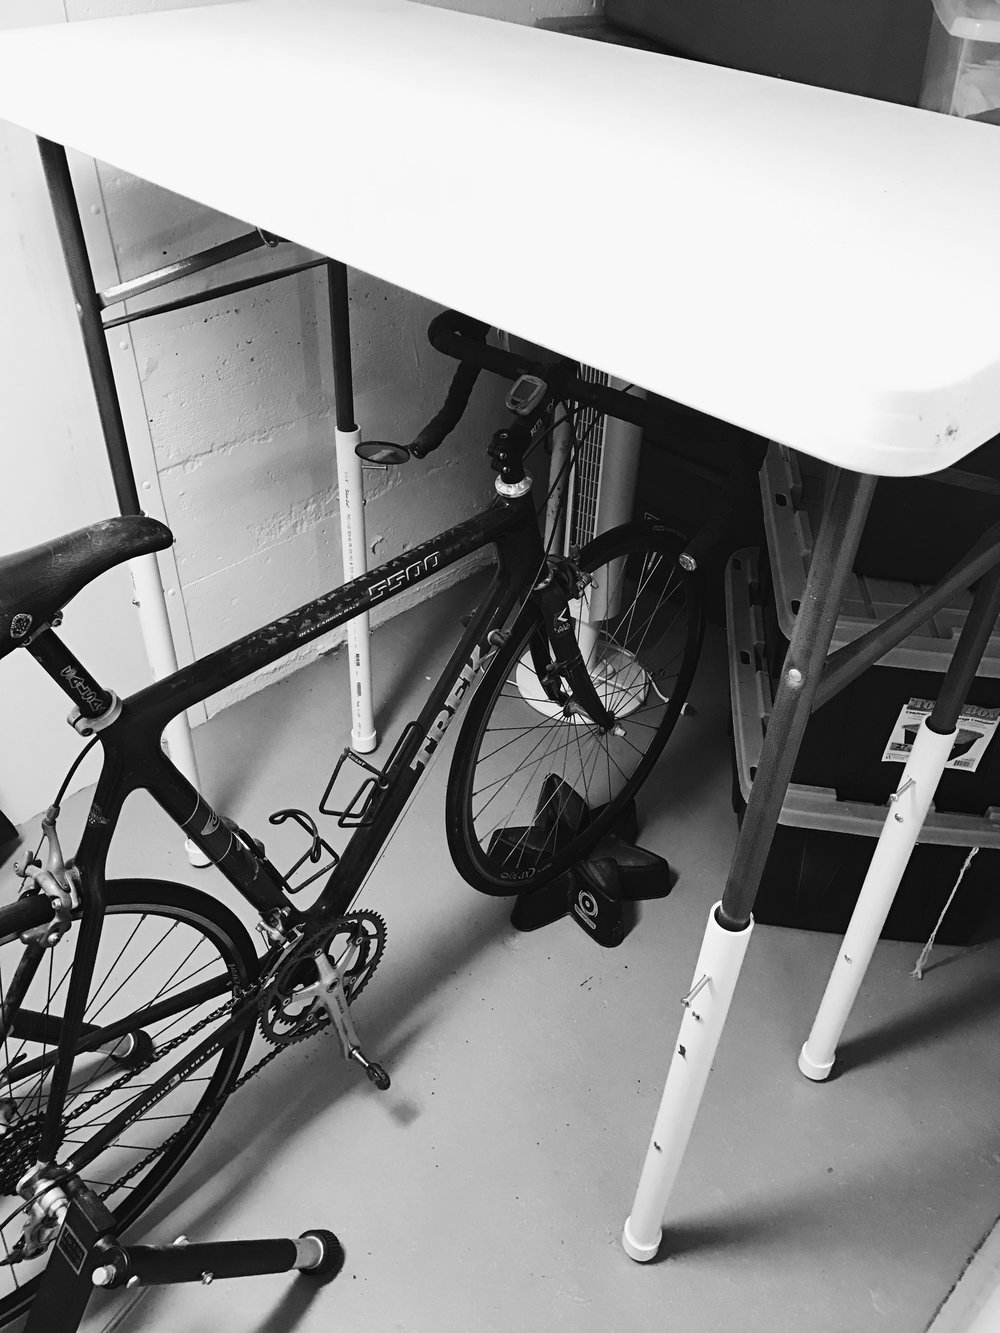
Diy Bike Trainer Reddit Computer Stand For Platform Indoor Laptop Mat
If you plan to use the trainer to complete interval workouts, this may be an annoyance.
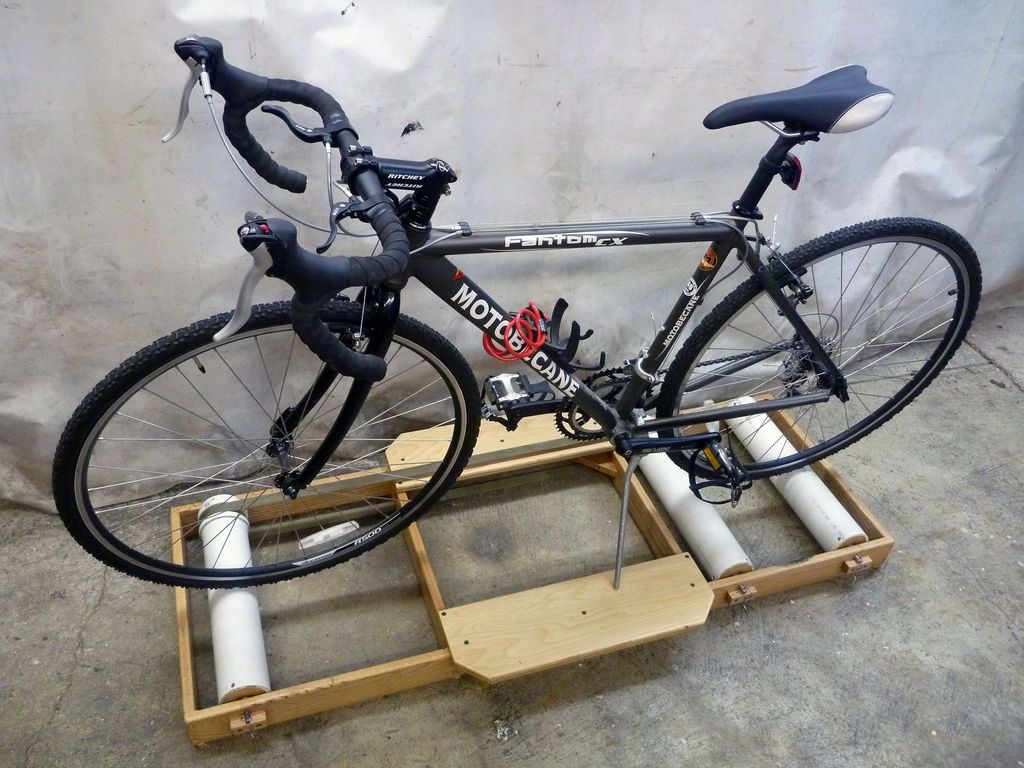
Diy bike trainer resistance. I cut the plywood discs using a jigsaw, and then sanded them to the compass mark. The rollers are standard 3″ pvc pipe with plywood discs pressed into each end. The build requires a pair of bike pegs that can be purchased online.
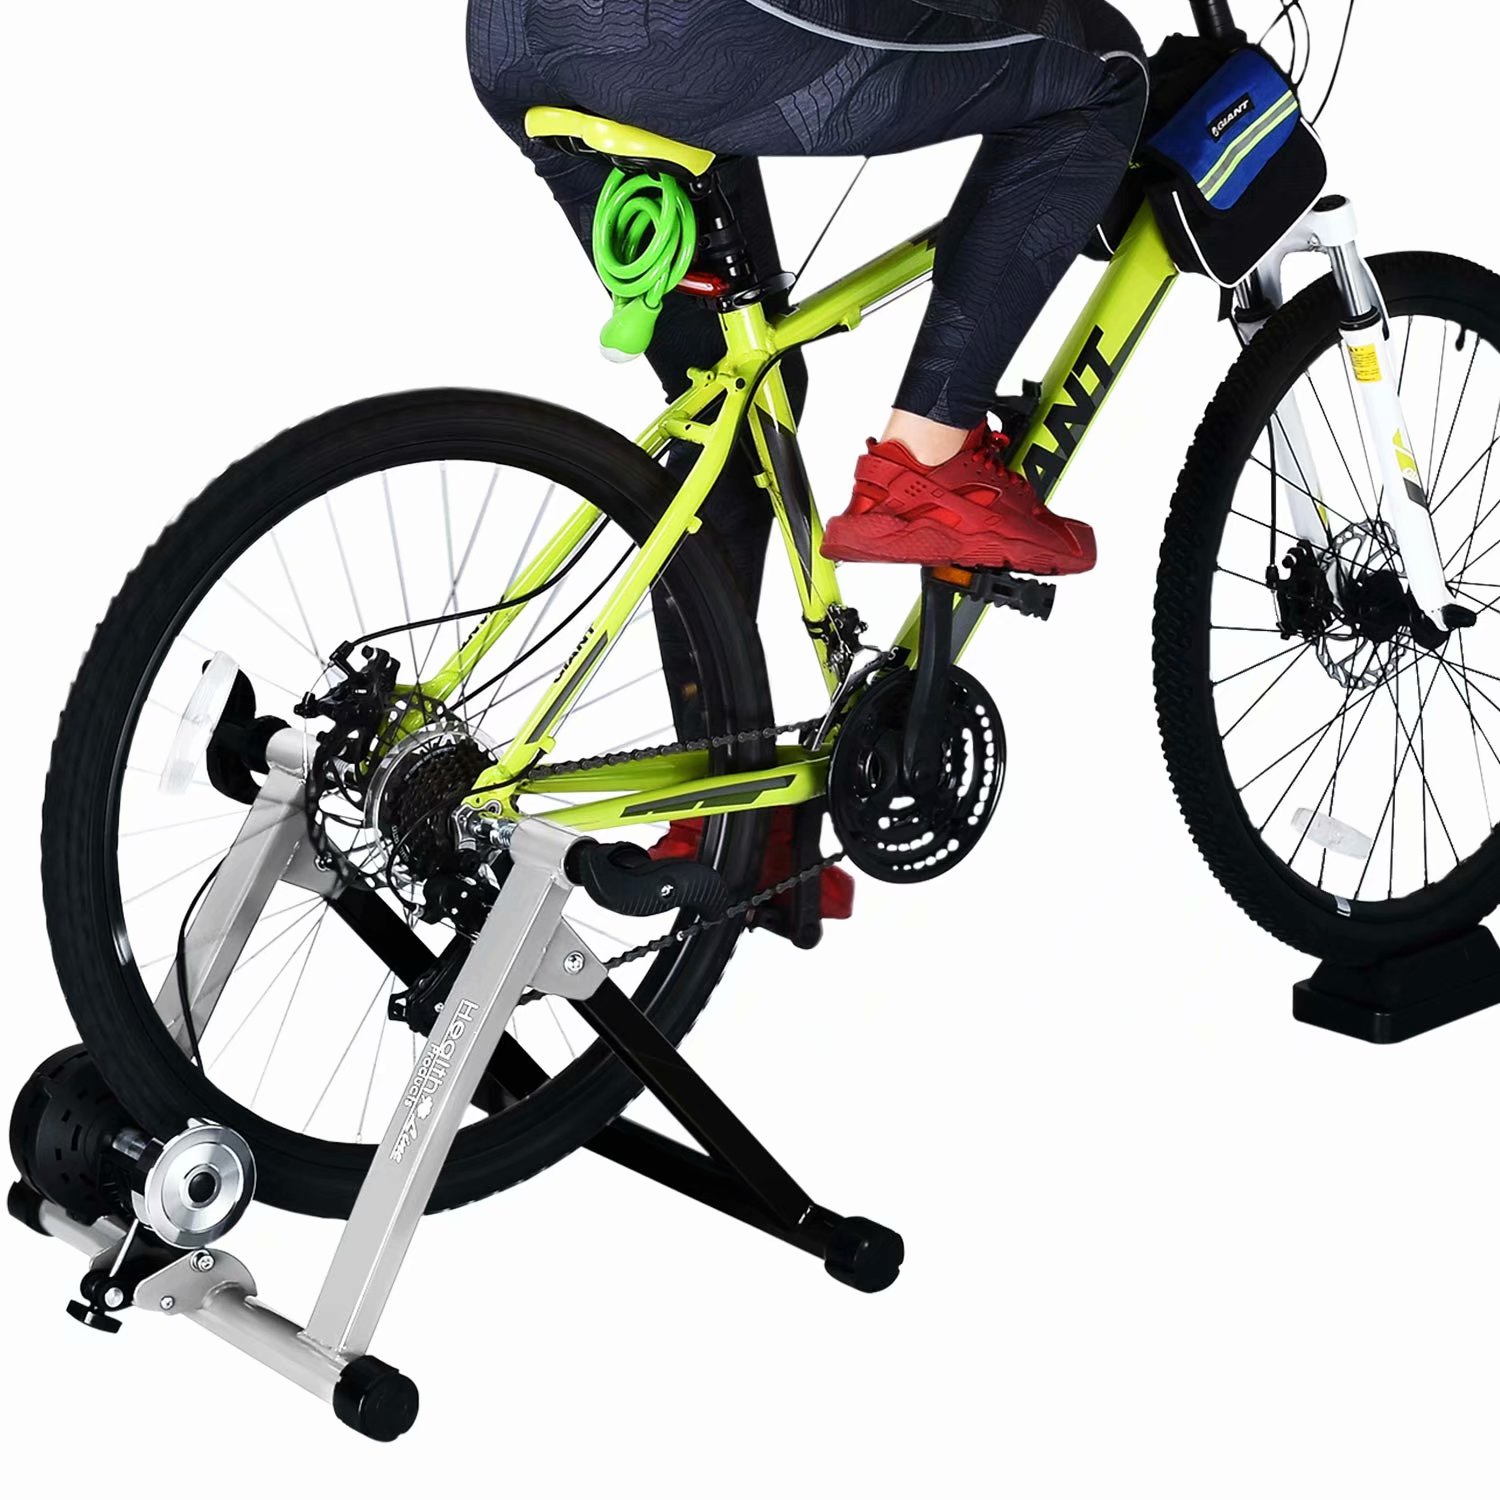
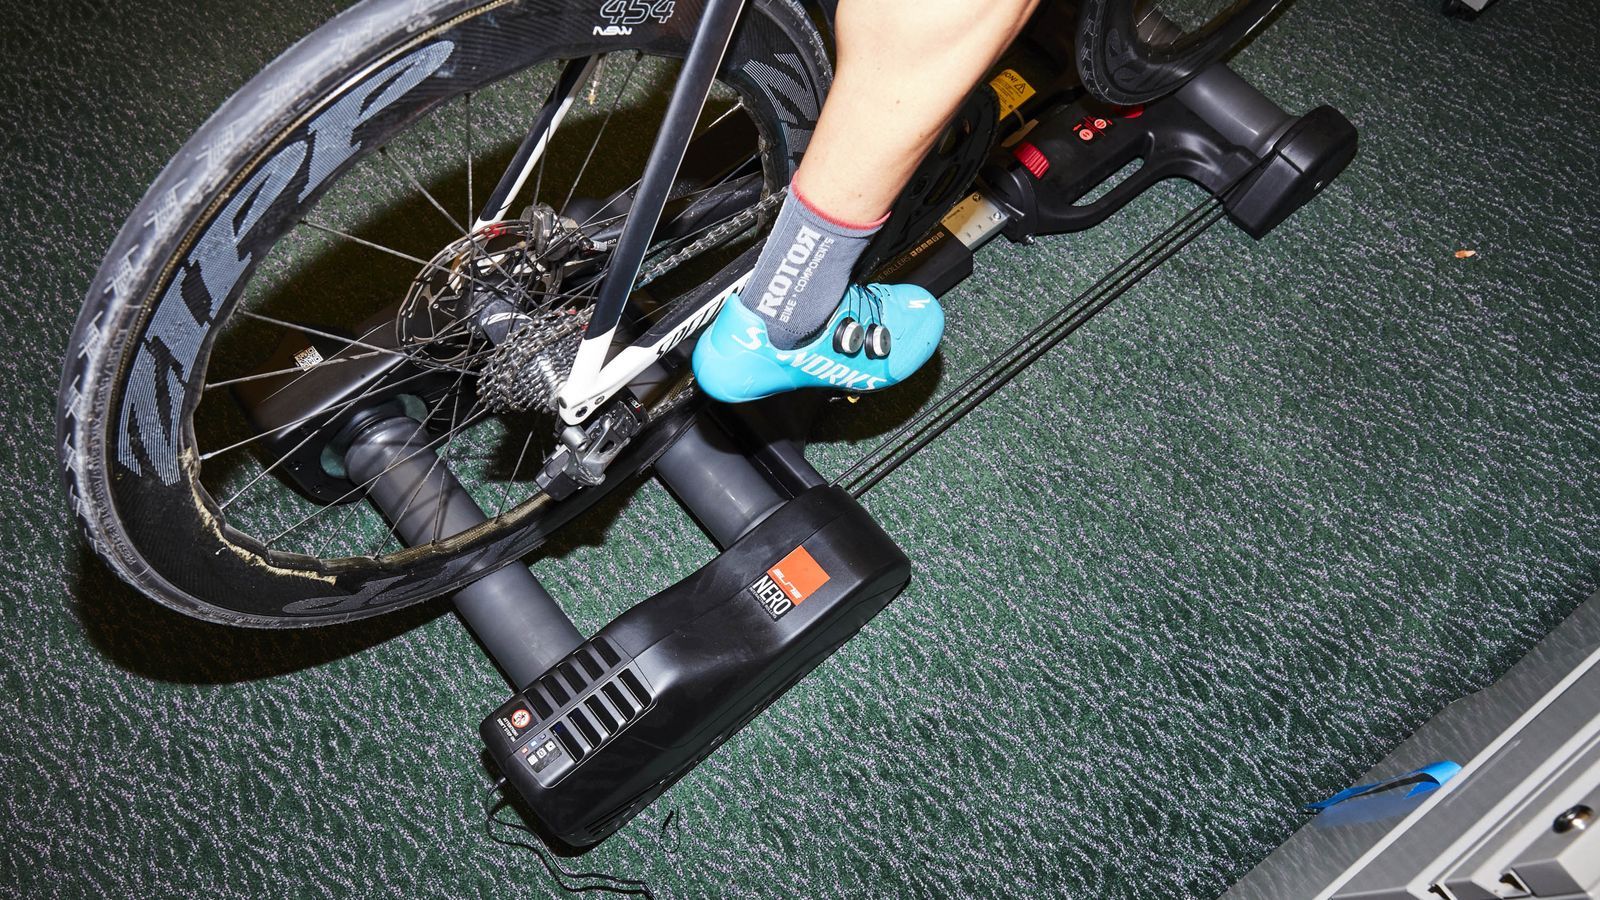
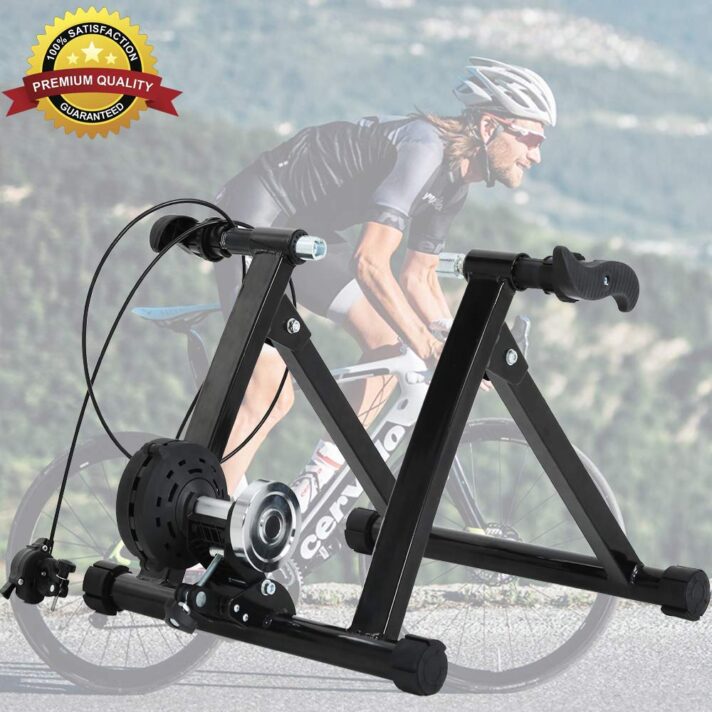
A very simple magnetic resistance unit that mounts directly to a bike frame. The magnetic flywheel is combined with a fluid chamber to produce the resistance. If you want the resistance to be harder, shift the bike into a harder gear.
Some of what i have built here is copied from other youtube videos. These things range in price from under $100 on up to $1,000 and more, depending on design and features. The harder you pedal the greater the resistance produced.
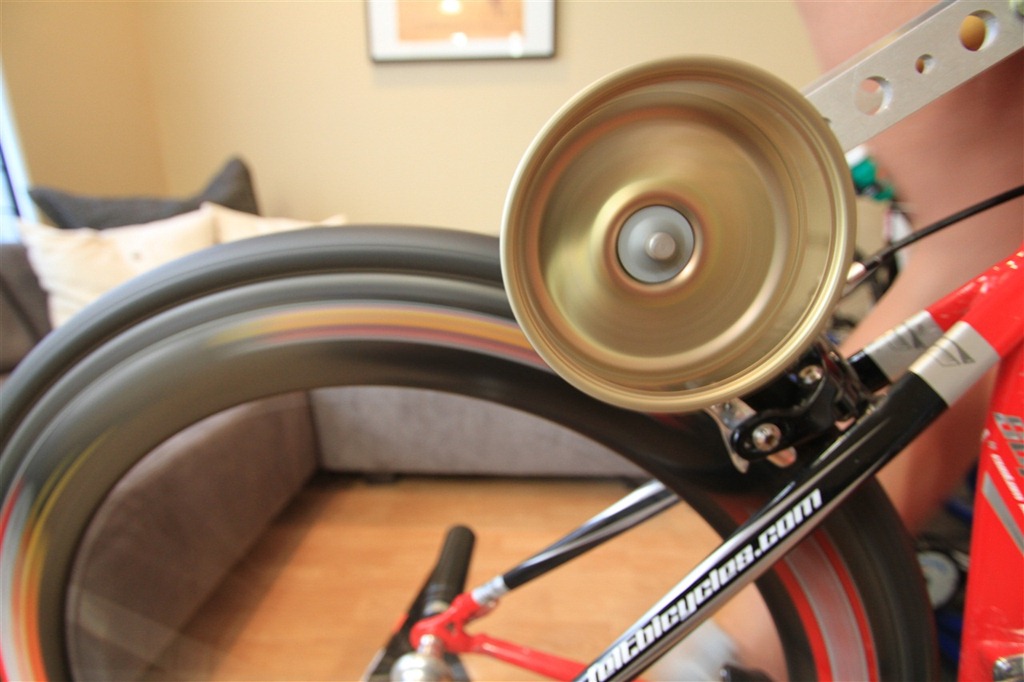
We recommend you verify which pegs suit your wheel). Kinetic fluid bike trainers create resistance by turning a blade inside a container of fluid. To build our bike trainer, we ordered a pair for 3/8″ wheel axle (different bikes, different types:
The higher the brake force, the steeper the incline can be simulated at a certain weight. I cut the rollers to 24 (length of the pipe itself). This style is beneficial because there is no friction resistance and therefore it saves the wear and tear from your tire.
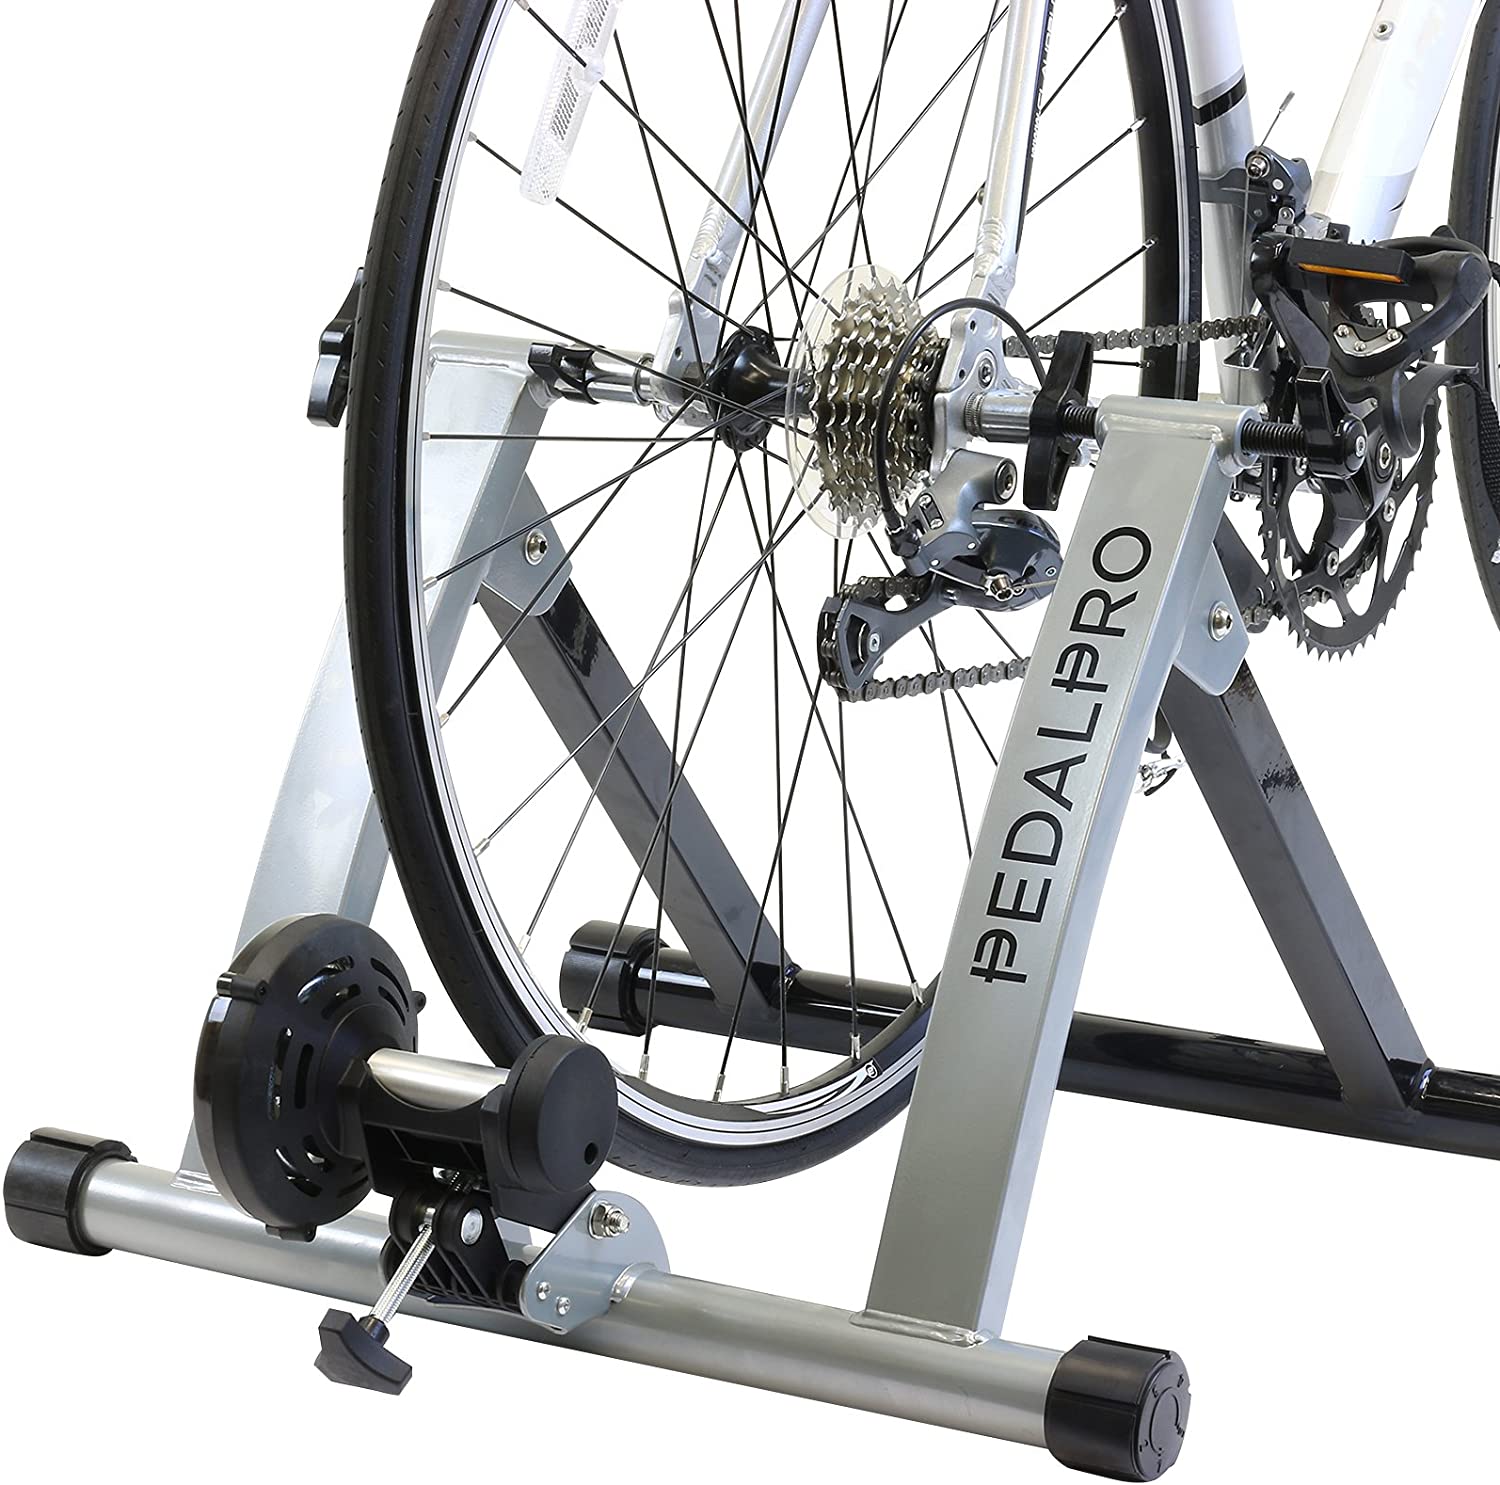
This should be plenty of resistance, again, assuming it has similar resistance to my trainer. The fluid trainer is known for being the quietest type of bike trainer, which is a big plus! For each end, i used 1 skateboard bearing ($2 each at skateboard shop), 1 4 5/6 hex.
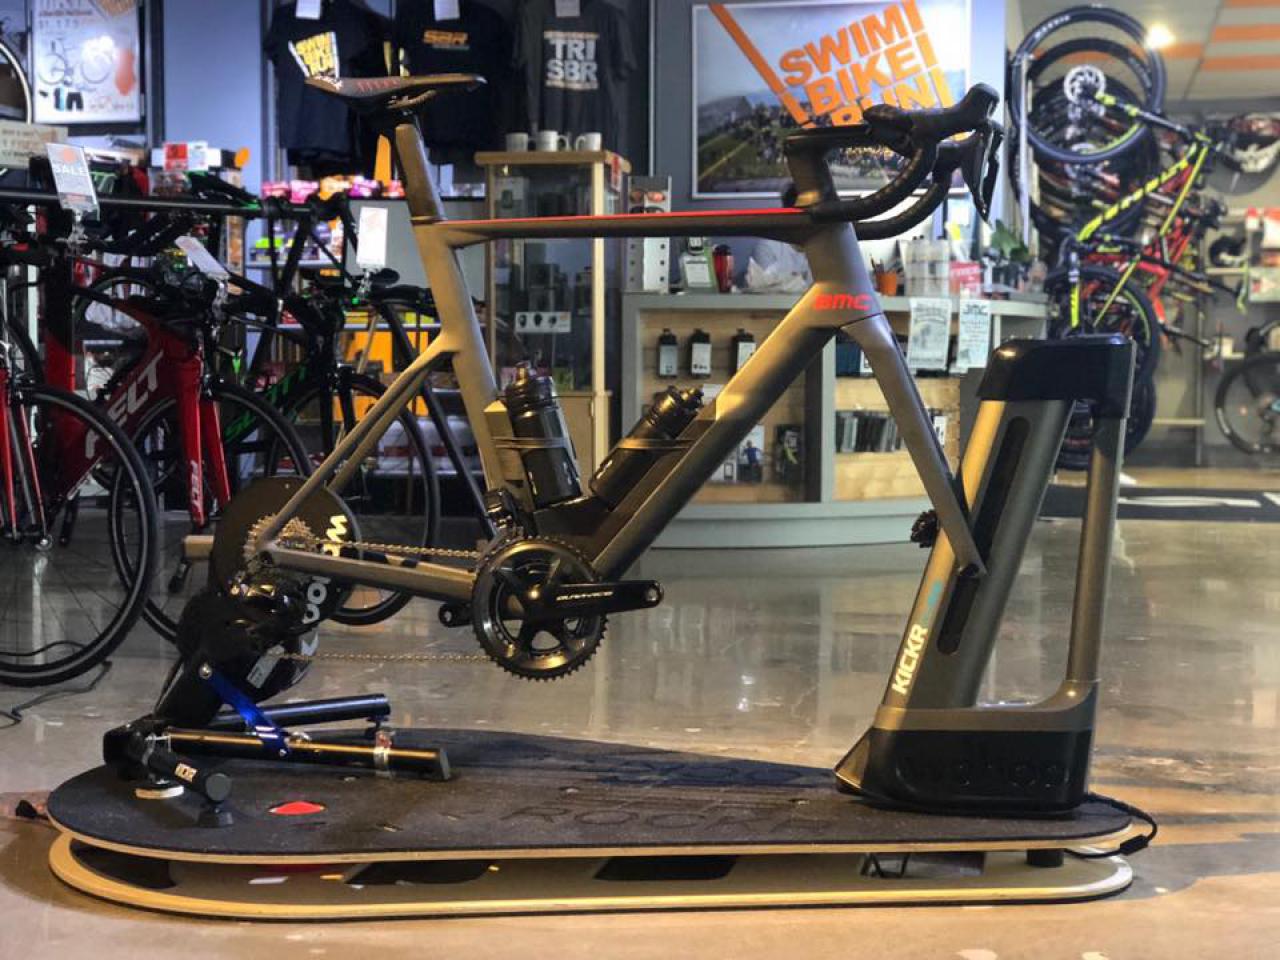
The trainer holds your bike upright; The recess can be made using a paddle bit of forstner bit. These items are also essential to build the project.
They can easily be found at your local hardware store, or online: Remove magnetic resistance parts from trainer. A quick video (that i didn't get round to doing over christmas) to show you how to add resistance to almost any aluminium or steel indoor trainer rollers, es.
Off the shelf steel rod make up the axles. Kinetic fluid trainers provide a realistic replication of the resistance a rider experiences outdoors. The resistance will increase as your wheel spins faster.
First we need to remove the guts of the trainer's resistance unit. Rather than use wooden end caps for the rollers, which would require a jig saw i don't have, i decided to go all pvc. Reattach the pedal cranks by rotating them clockwise as you thread them into the pulley from each side.
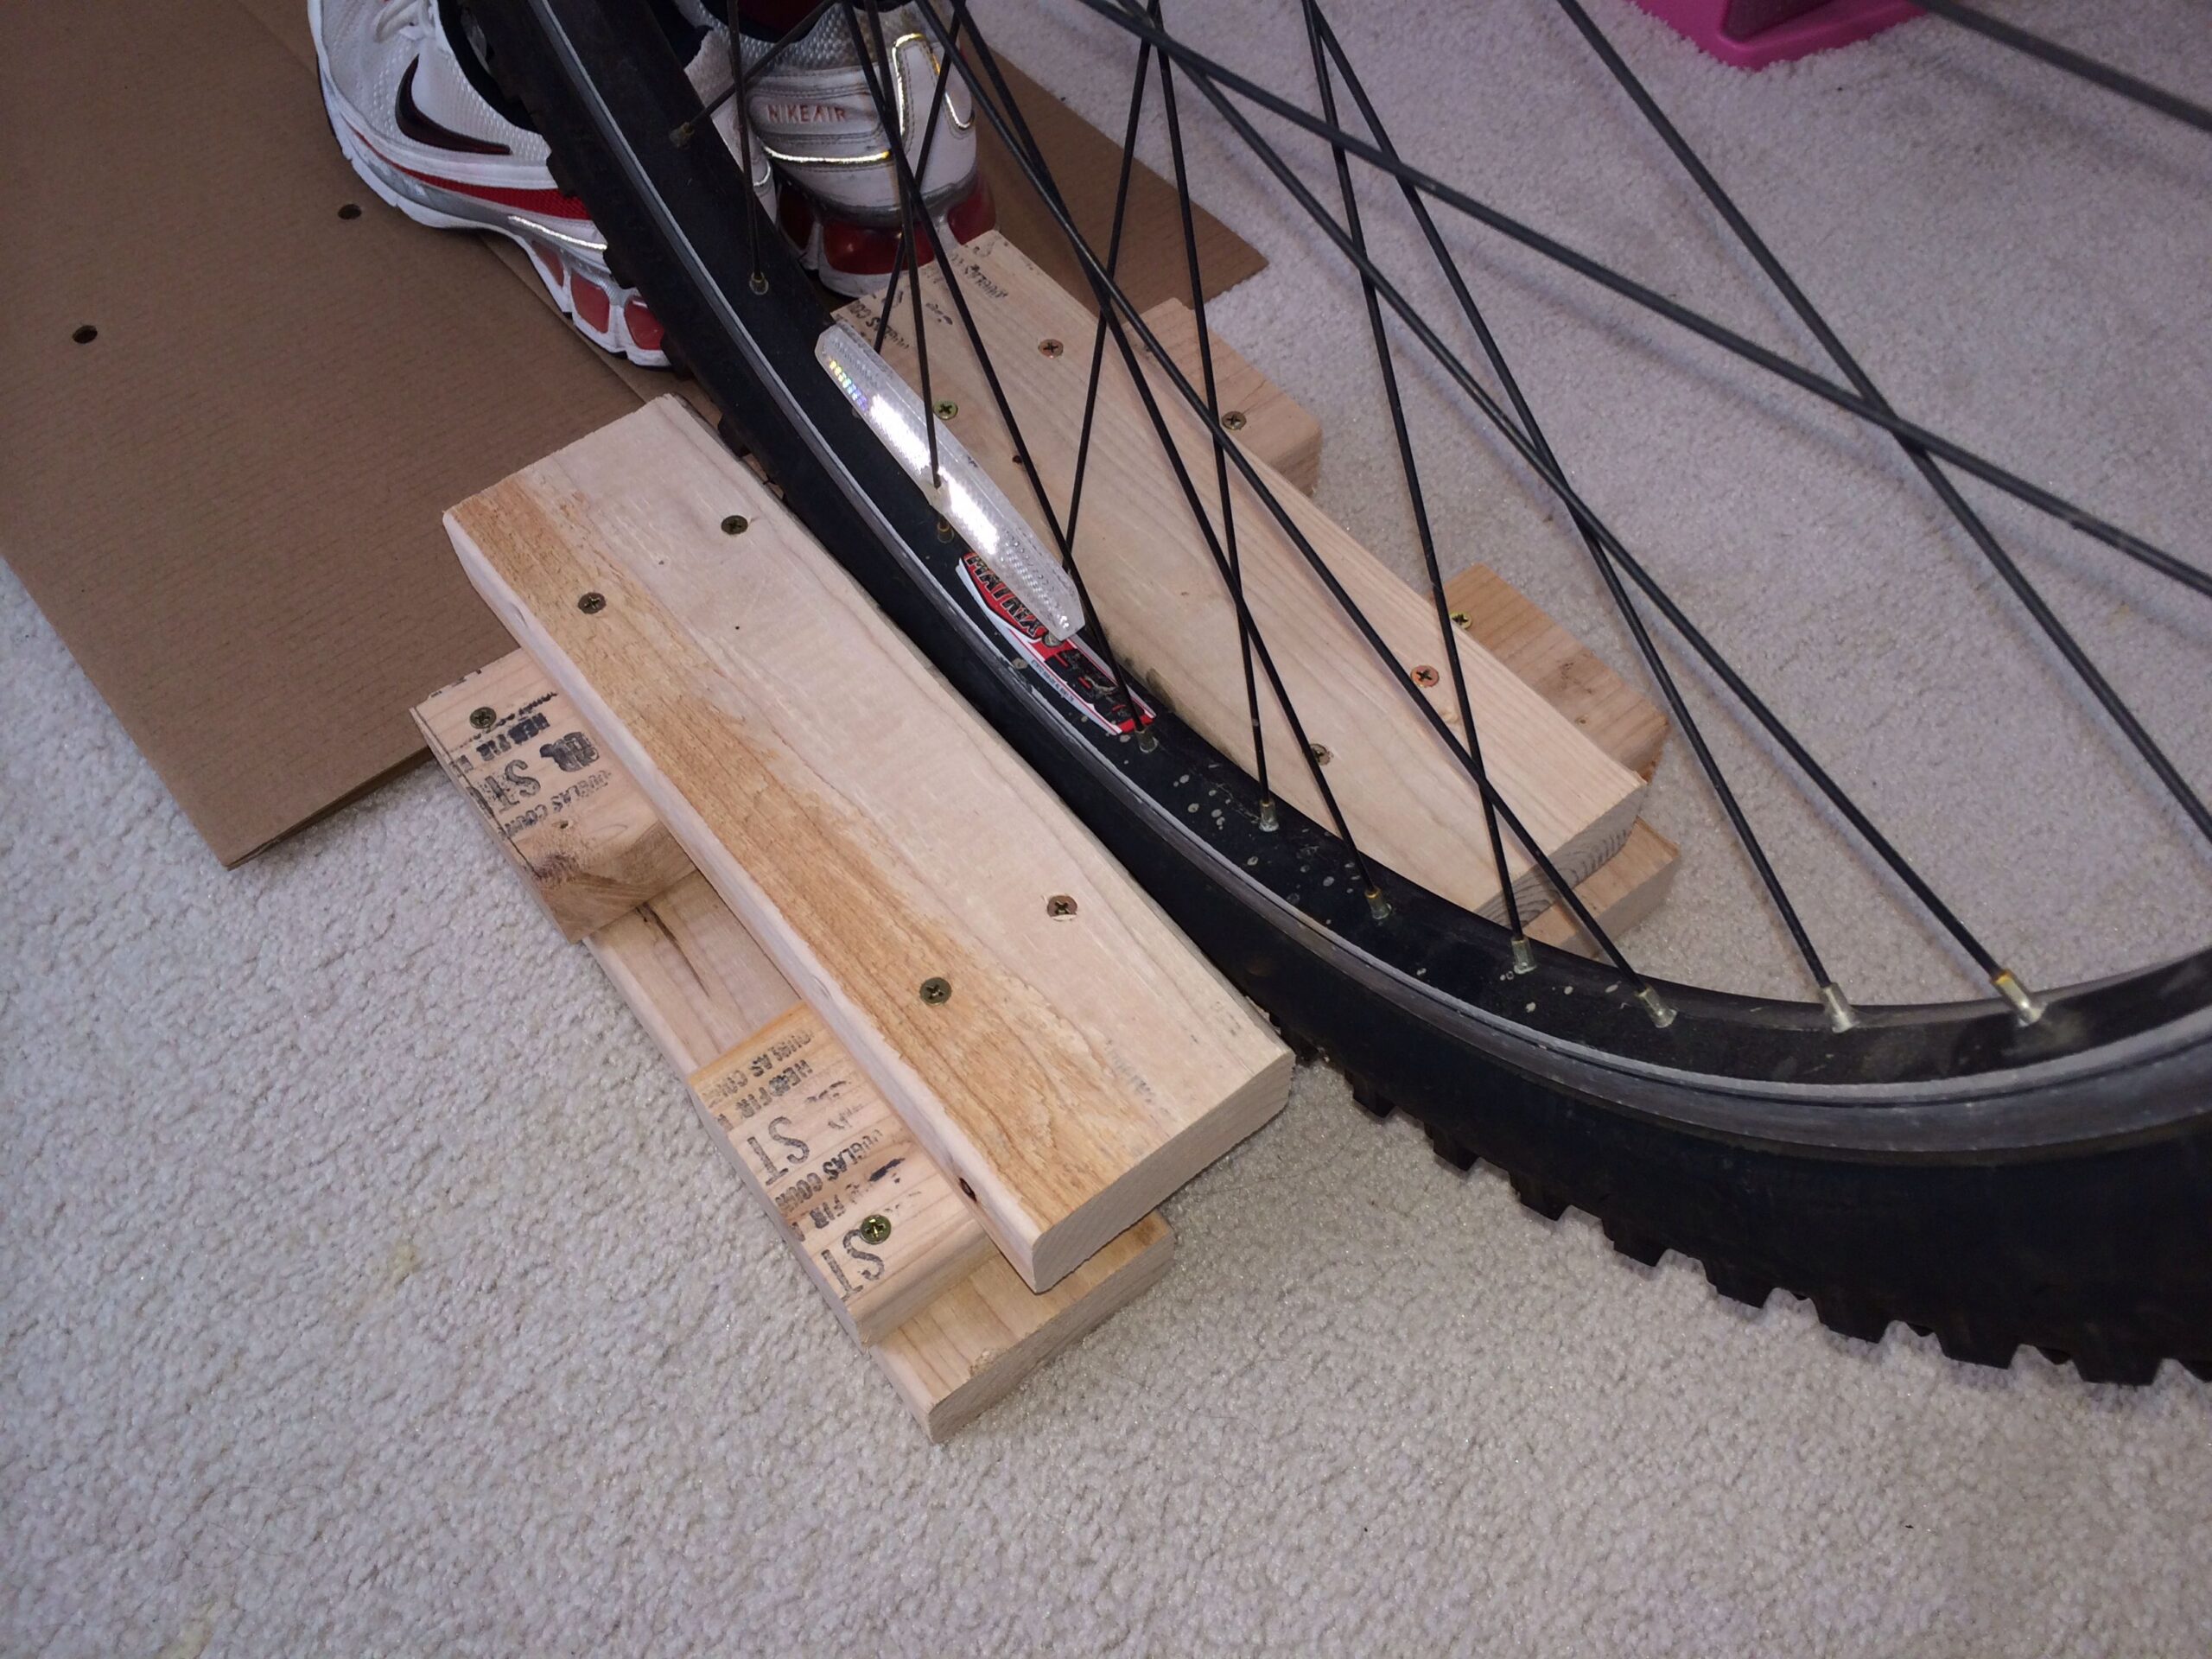
Saris fluid2 smart equipped indoor bike trainer, includes speed sensor. Mark a line down the the center of the 6wide boards and measure up to the center of the hub; Replace the nut that secures the pulley.
Meanwhile, a direct drive trainer attaches to your bike’s drivetrain after you remove your back wheel. All you do is hop on and pedal. Unfortunately, you have to pay the price for this type of trainer.
Ride in an easy gear and spin if you. Position the flywheel covers on each side of the flywheel. I used 2 schedule 40 pvc (from home depot).
A trainer with high brake power can generate high resistance at low speeds, so it can realistically simulate steep inclines. To make the upright supports you will need to remove your bike's rear wheel, set it on the two axels and measure up. A fluid trainer generates roadlike resistance for the cyclist.
This resistance is progressive and increases as wheel speed increases. The skate board bearings are pressed in to plywood discs that fit snugly into the pvc, and are then held in place with a few countersunk flat head screws. Fluid resistance provides a quiet and consistant ride.
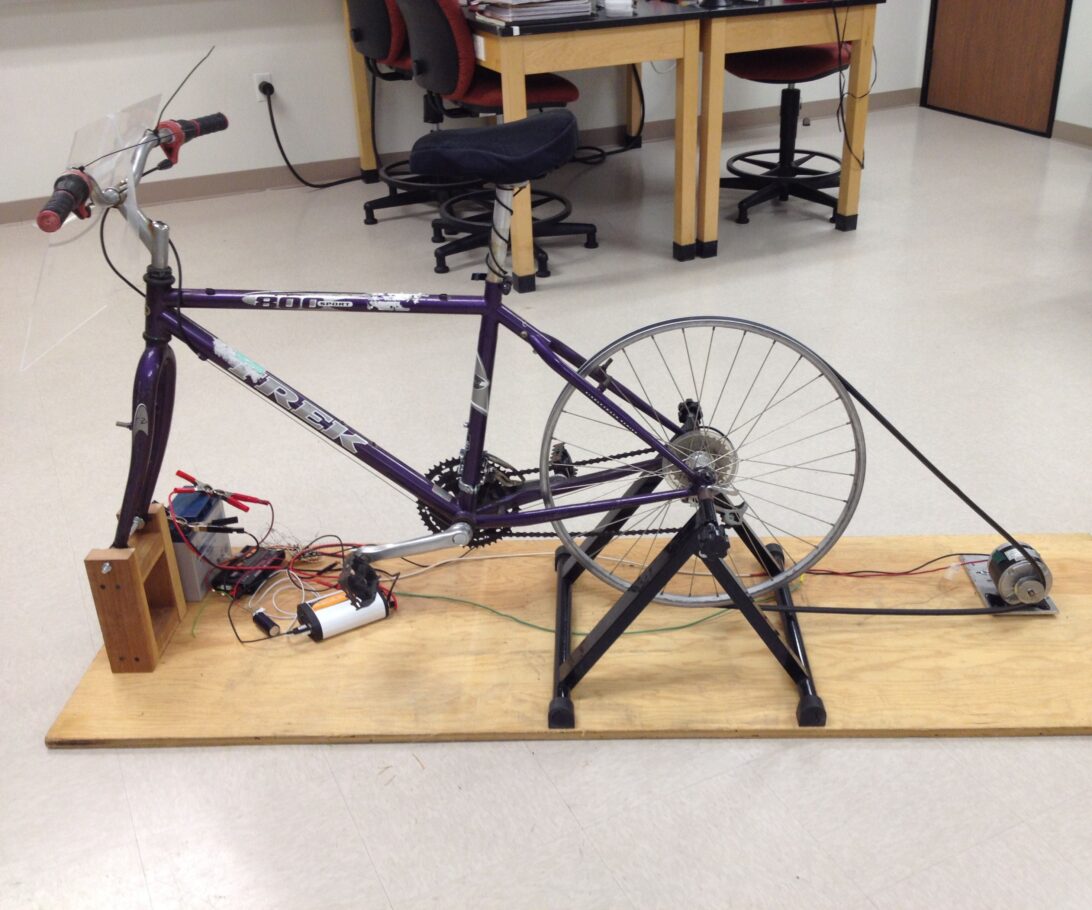
These tend to be a little less pricey, but they’re noisier and can cause more wear and tear on your bike. It looks like your bike has a 46 front chaining and an 11 tooth sprocket in the back as your hardest gear. Best design diy bike trainer generator step 1:
Progressive resistance works like this: The trainer will hold your bike in place.
Diy Bike Trainer Reddit Computer Stand For Platform Indoor Laptop Mat
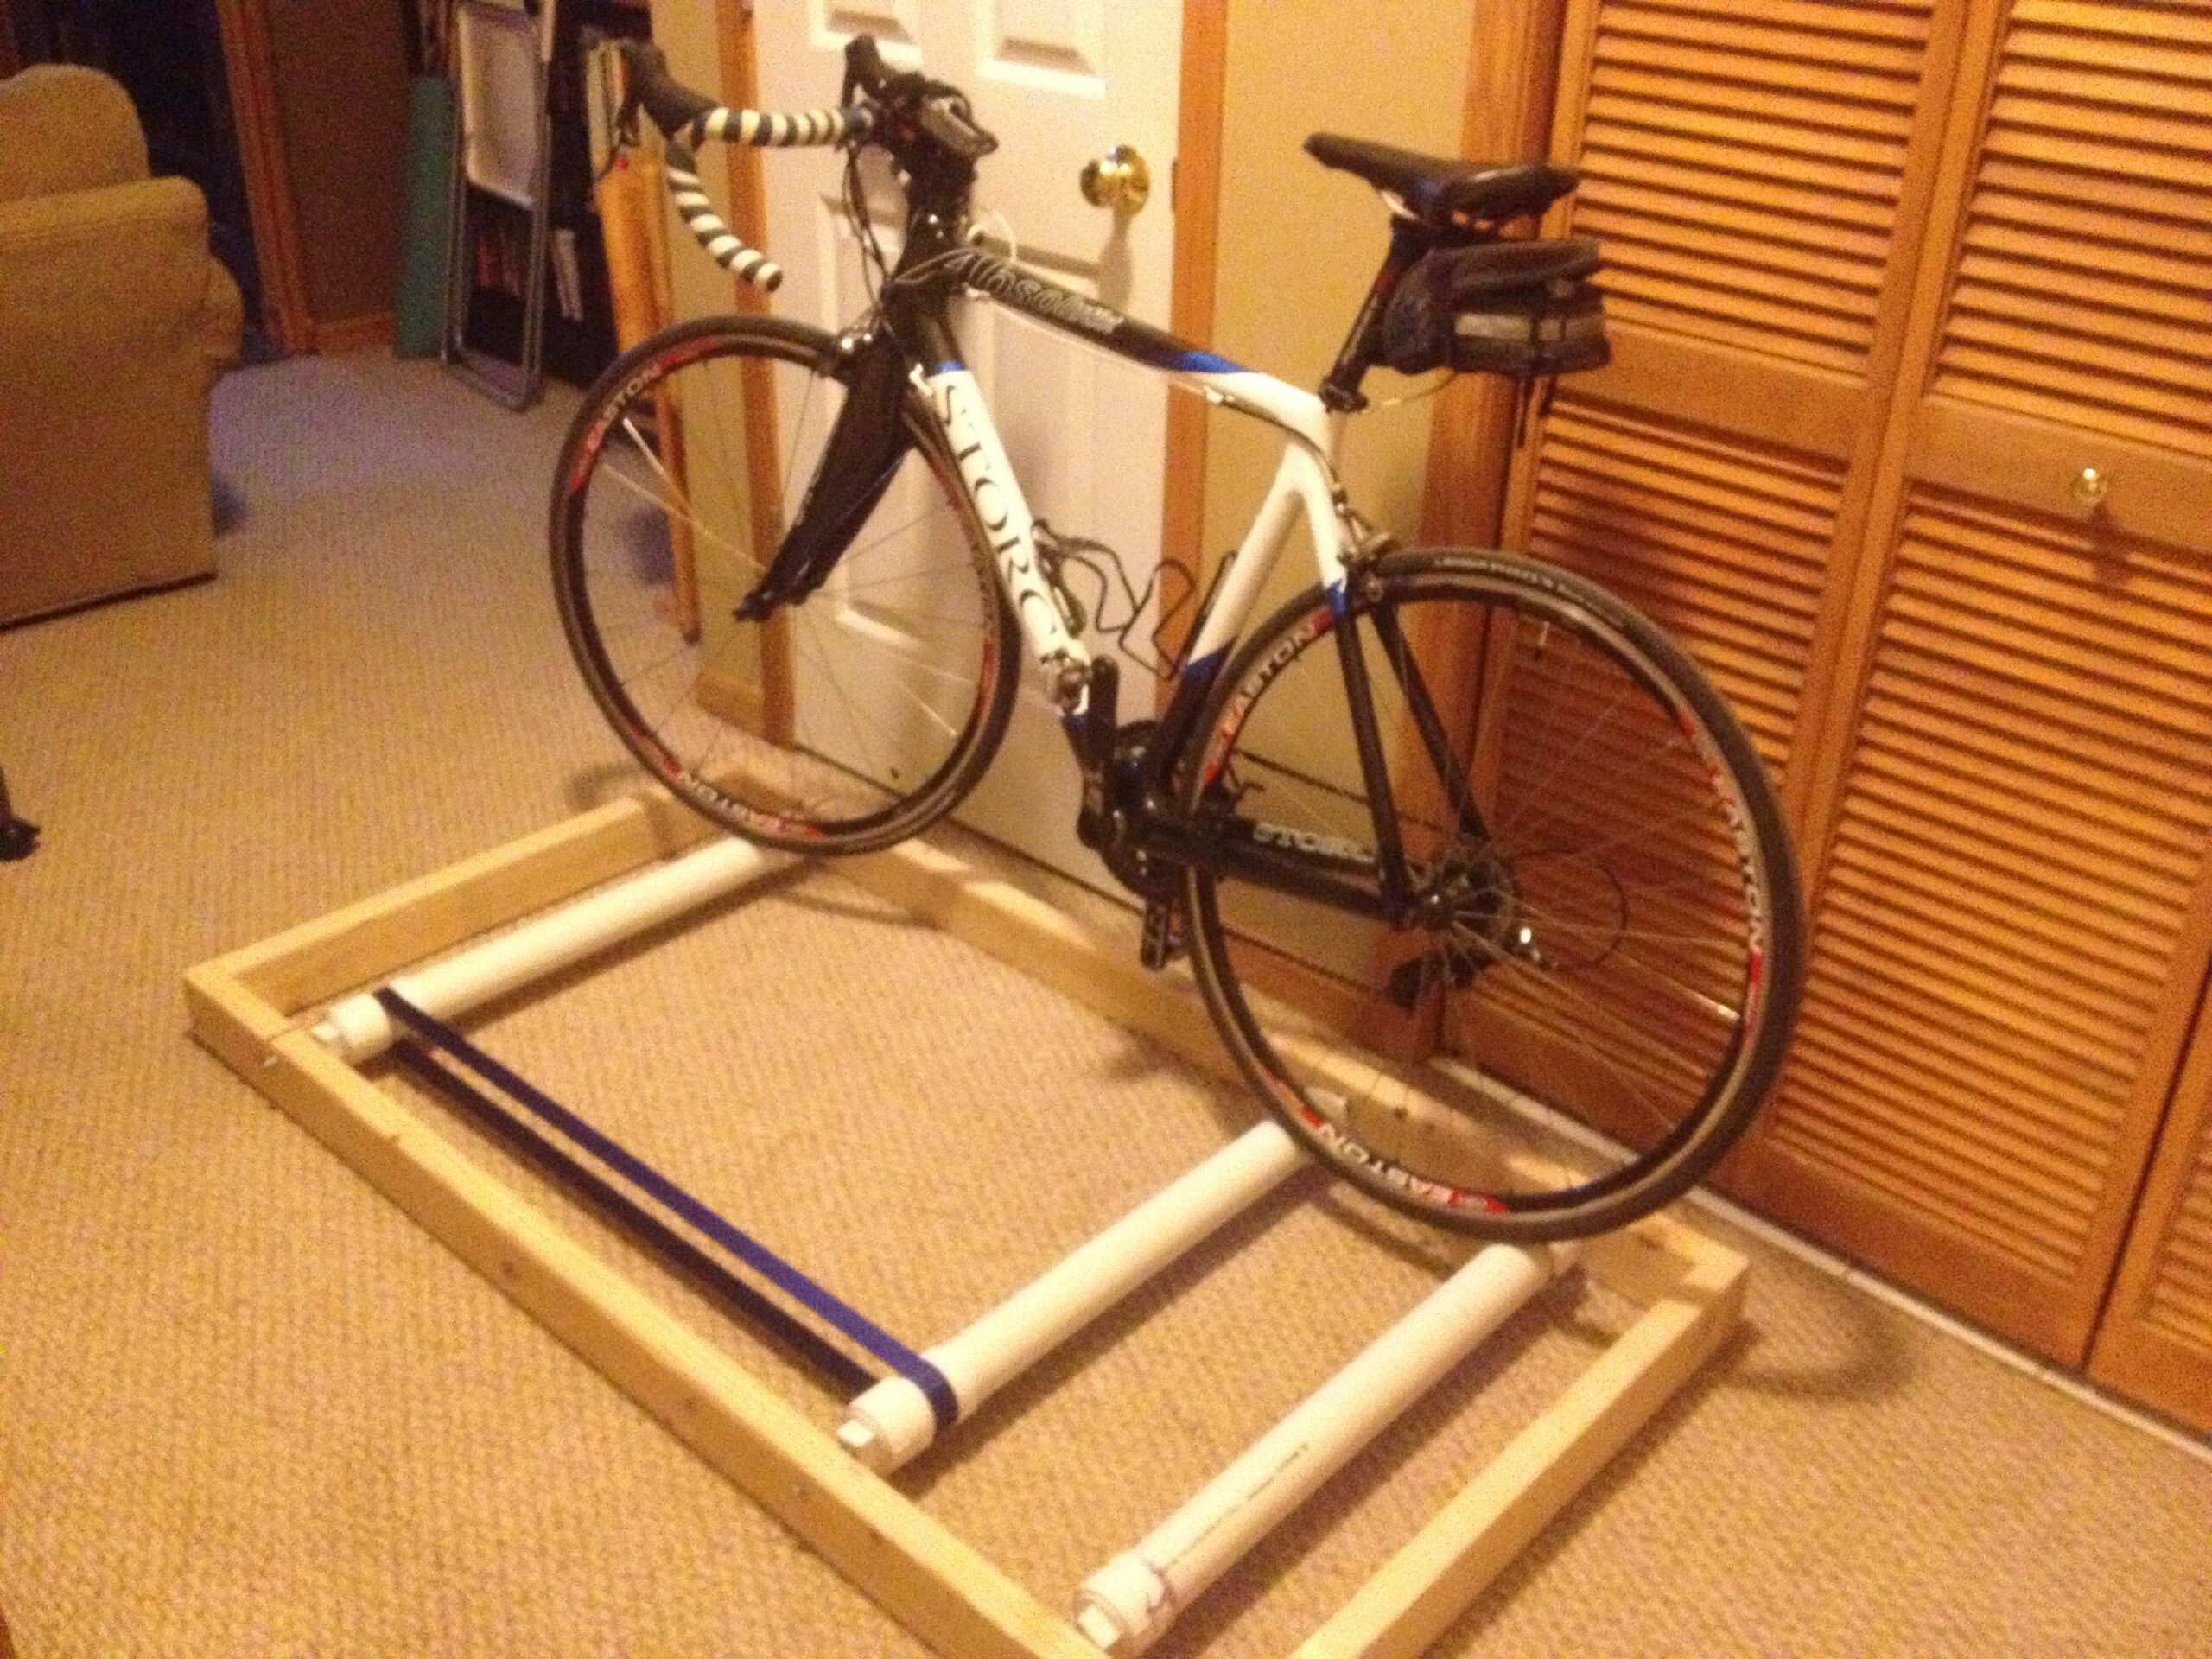
Diy Bike Trainer Indoor Stand Computer For Bicycle Roller Exercise
Diy Bike Trainer Indoor Stand Computer For Bicycle Roller Exercise
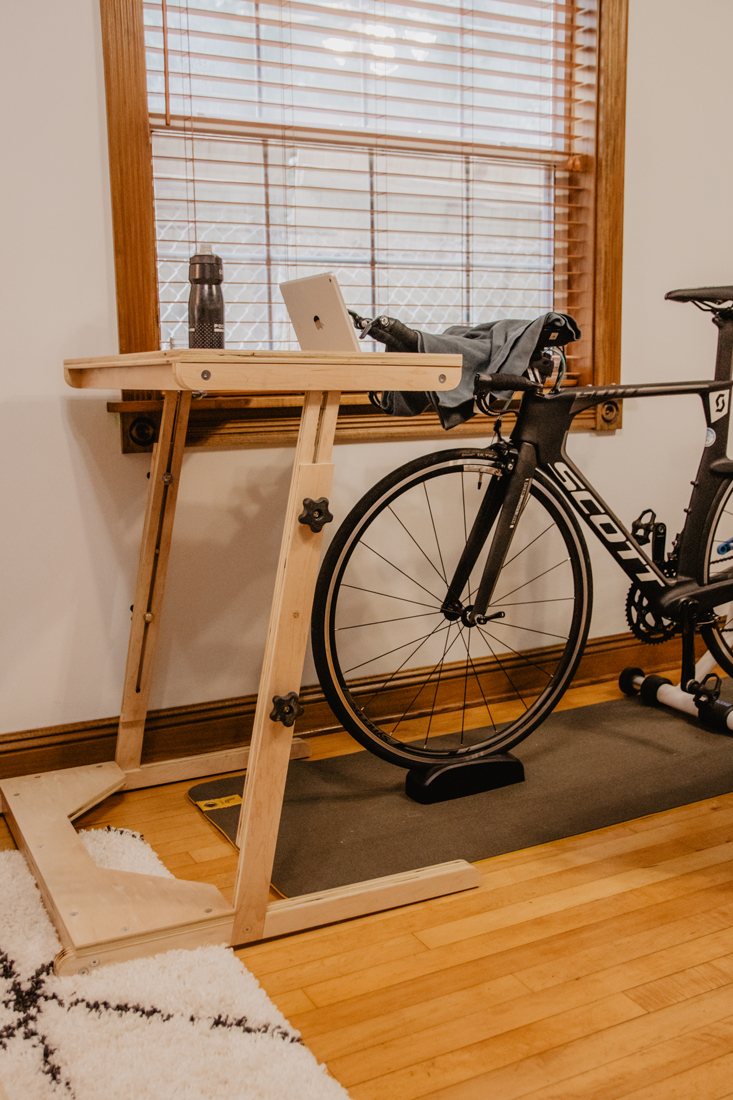
Diy Bike Trainer Indoor Stand With Resistance Desk Laptop For Computer
Diy Bike Trainer Indoor Stand Computer For Bicycle Roller Exercise
Diy Bike Trainer Indoor Stand Computer For Bicycle Roller Exercise
Diy Bike Trainer Reddit Computer Stand For Platform Indoor Laptop Mat
Going old school Using a bike trainer from 1976 DC Rainmaker
Sprinter della Casa Equipment Homemade Rocking Trainer

Best Design DIY Bike Trainer Generator Bike trainer, Fun diys, Diy design

Best Design DIY Bike Trainer Generator 10 Steps (with Pictures

Diy Bike Trainer Reddit Computer Stand For Platform Indoor Laptop Mat
Diy Bike Trainer Exercise Stand Indoor Reddit Front Wheel Platform
DIY "Stac Zero" bike trainer YouTube

Diy Bike Trainer Reddit Computer Stand For Platform Indoor Laptop Mat
Diy Bike Trainer Reddit Computer Stand For Platform Indoor Laptop Mat
Diy Bike Trainer Reddit Computer Stand For Platform Indoor Laptop Mat
Diy Bike Trainer Indoor Stand Computer For Bicycle Roller Exercise
Diy Bike Trainer Reddit Computer Stand For Platform Indoor Laptop Mat